

This article will show you how to Show and Hide fonts by Windows 7, Windows 8 automatically, and manually by you to be available to choose the font or not in your programs input language configurations. You will also view how to reinstate the default Show and Hide settings.
Turn Automatic Show and Hide Fonts by Windows On or Off
1. Open the Control Panel in Windows 7 or Windows 8.
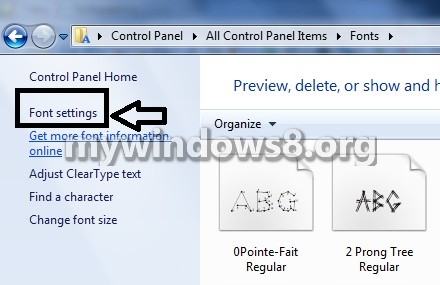
2. Click on the Fonts icon.

3. Click on the Font settings link in the left pane.
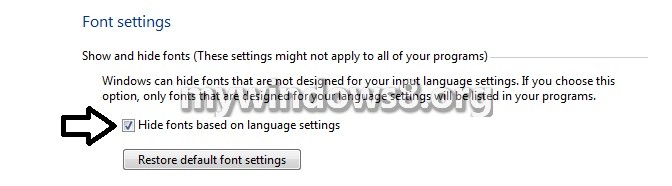
4. To Turn On Automatic Show and Hide Fonts
A) Check the Hide fonts based on language settings box
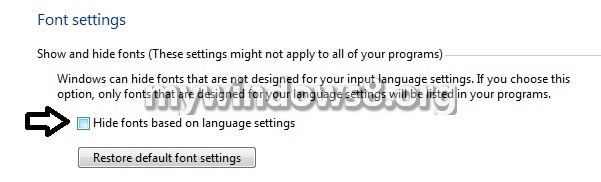
5. To Turn Off Automatic Show and Hide Fonts
A) Uncheck the Hide fonts based on language settings box.
6. Click on OK when done.
Manually Set Fonts to Show and Hide
1. Open the Control Panel in Windows 7 or Windows 8.
2. Click on the Fonts icon.
3. To Set a Font to Show
a) Select a individual font or font family that you want to set to Show.
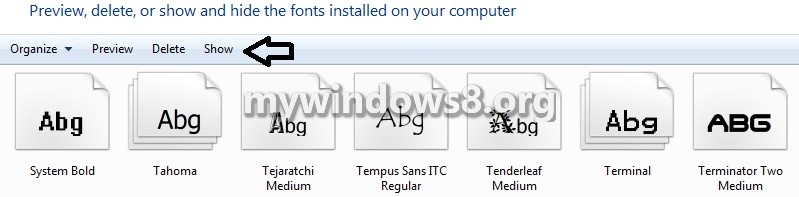
b) Click on the Show button on the toolbar.
4. To Set a Font to Hide
a) Select a individual font or font family that you want to set to Hide.
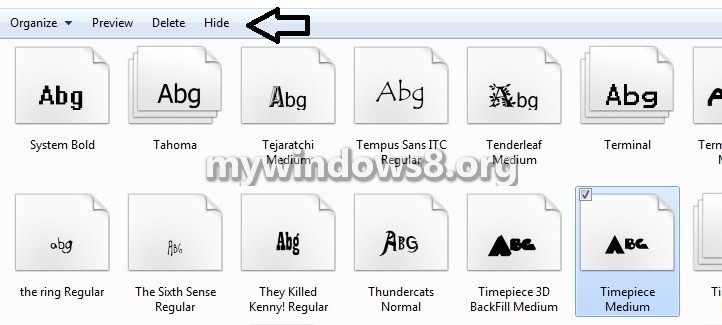
b) Click on the Hide button on the toolbar.
5. Close the fonts windows when done.
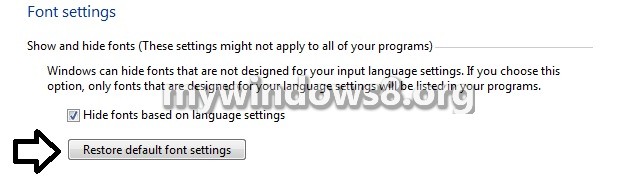
Restore the Default Show and Hide Settings
1. Open the Control Panel in Windows 7 or Windows 8.
2. Click on the Fonts icon.
3. Click on the Font settings link in the left pane.
4. Click on the Restore default font settings button.
5. Shut down the Font settings window.
About Nick
Nick is a Software Engineer. He has interest in gadgets and technical stuffs. If you are facing any problem with your Windows, feel free to ask him.