

Microsoft has integrated a LinkedIn resume assistant to Microsoft Word so that professionals can find it easy to create their resume with LinkedIn resume assistant. By default, LinkedIn resume assistant is enabled. If it is not, then you can check this article and turn on the feature by yourself. After you enable the assistant, it will appear under the Review tab. Simply, click on the LinkedIn resume assistant button and fill up the required fields, such as, your current role, your top skills, work experience examples, your willingness to join new organization, etc.
The robust and detailed features available in the resume assistant indicate that Microsoft is planning to collaborate with LinkedIn in the long run. Check out the following steps fo learn how to add LinkedIn Resume assistant in Microsoft word.
How To Use LinkedIn Resume Assistant In MS Word?
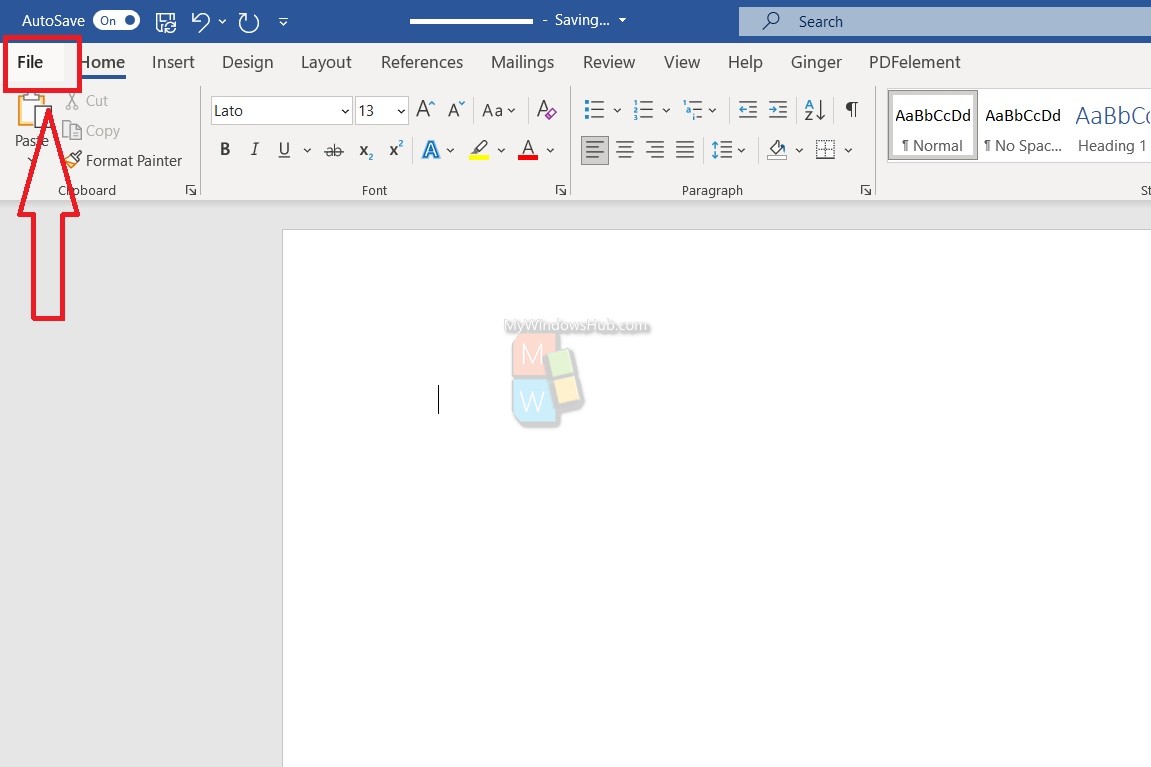
1. Open MS Word application. Next, click on File.
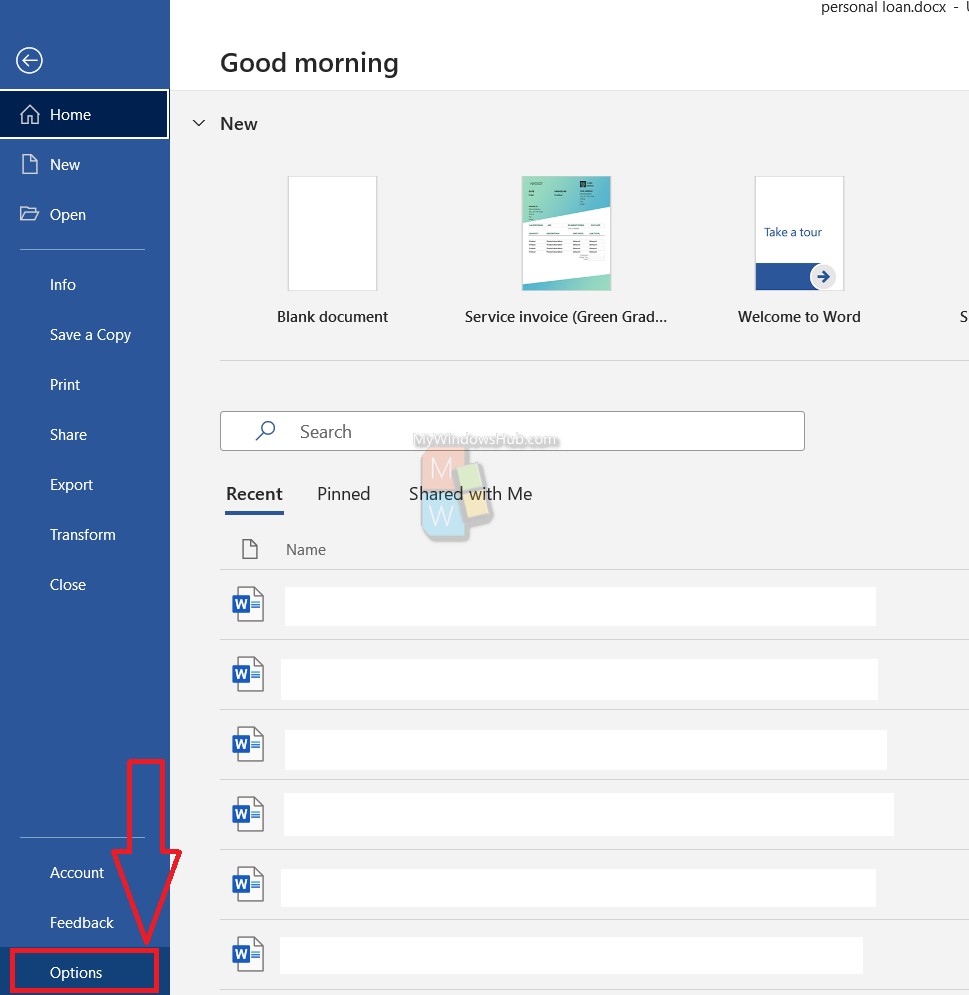
2. Click on Options to open the Word Options.
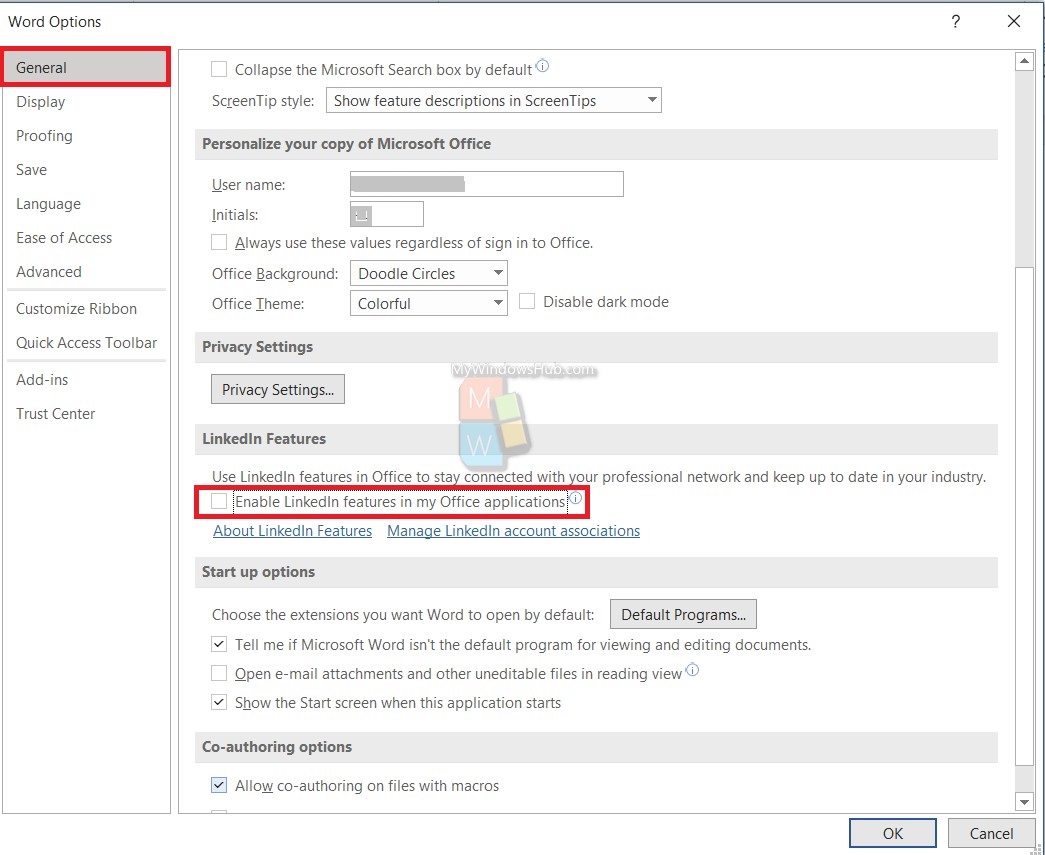
3. Next, go to the General tab located in the left pane. In the right panel, search LinkedIn Features. Under LinkedIn features, you will find this option Enable LinkedIn features in my Office applications.
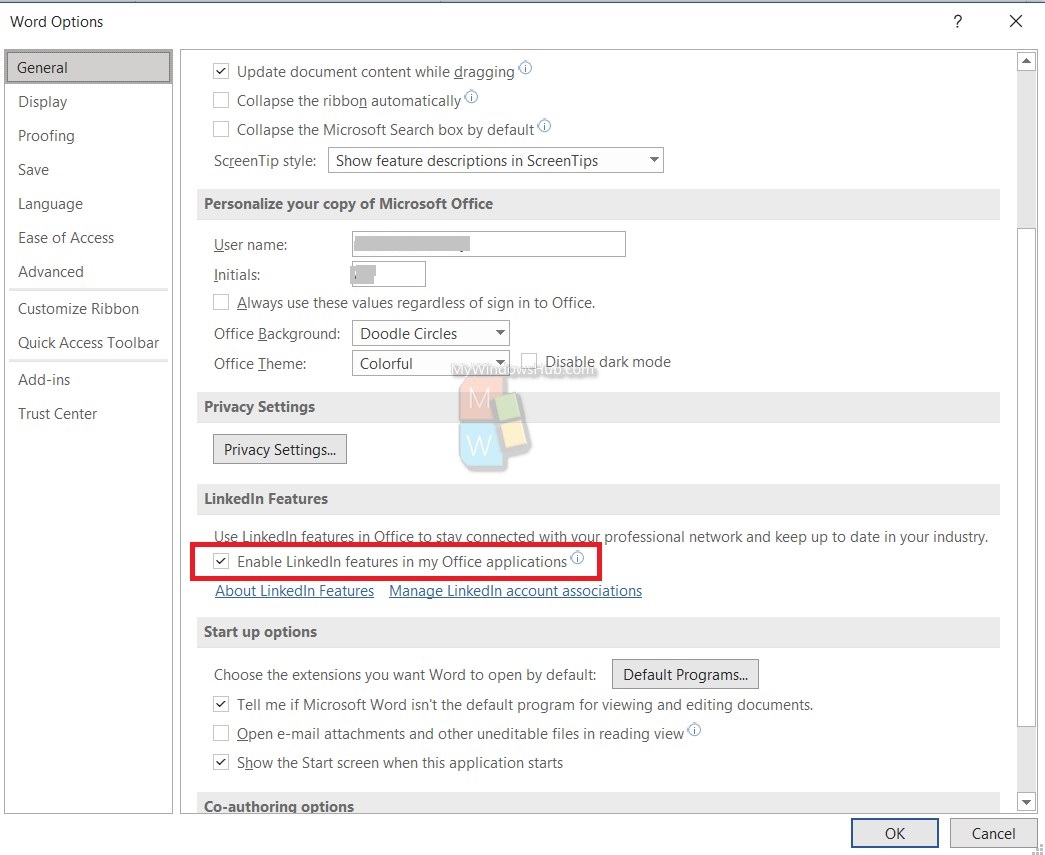
4. Click on the box beside the option, to check/enable the option. After that, go back to the Home page.
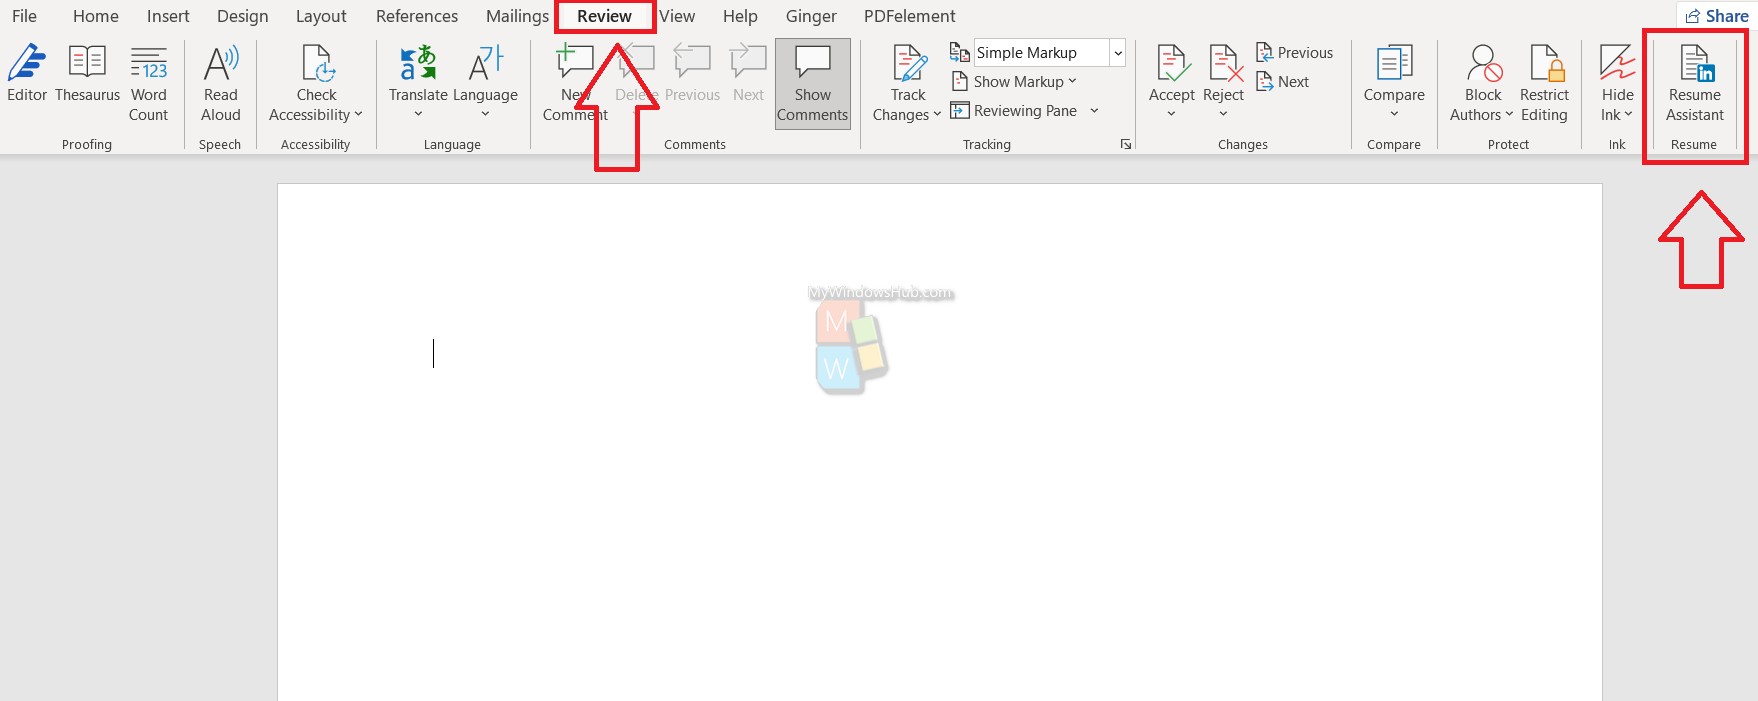
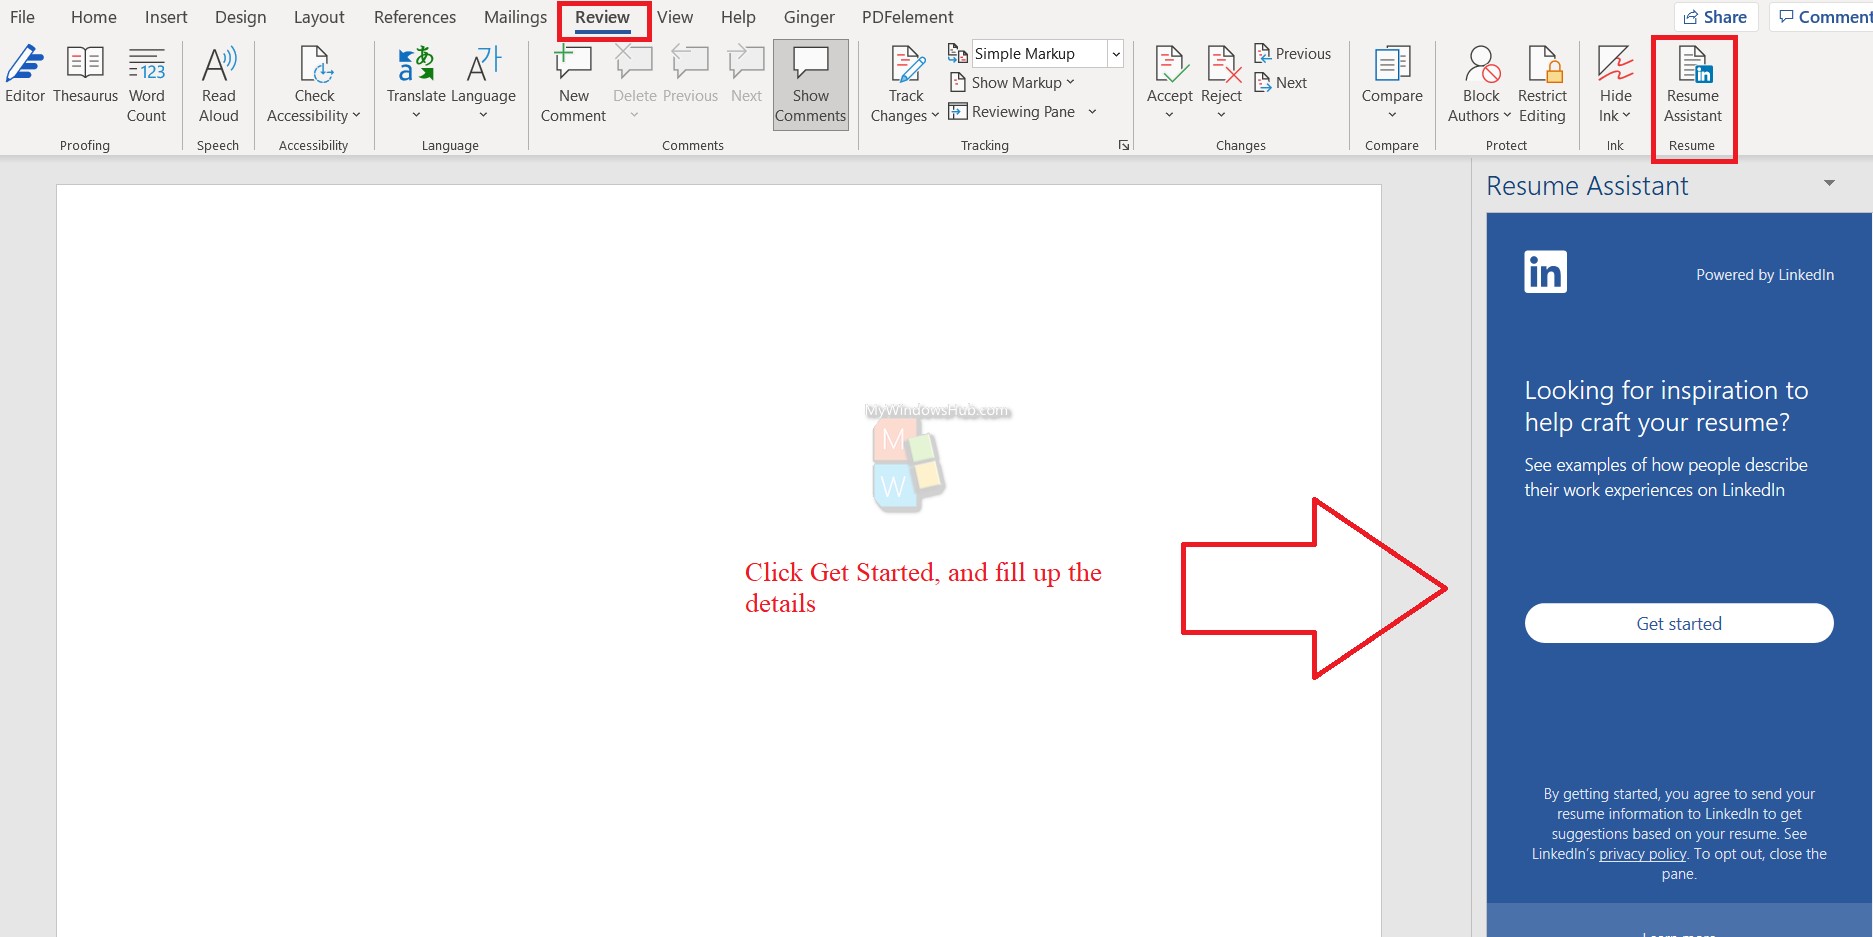
5. Now, go to the Review tab. You can see, at the right corner, LinkedIn Resume Assistant prevails. Click on it.
6. Click on Get Started. Then you have to fill up all the details asked to you, like your job role, past work experience, any certification, etc.
That’s all!