

The Homegroup feature in Windows operating system helps users share photo, documents, music, videos on a home network consisting of two or more computers. It also enables streaming of media files. Homegroup can be created in Windows 7, Windows 8, Windows 8.1 and Windows 10 with some exceptions. Windows 7 Starter, Windows 7 Home Basic, and Windows RT cannot create Homegroup but can join homegroups. When you create a Homegroup you will be given a password. This password will be required by other computers for joining your Homegroup.
Except Guest accounts, all user accounts which have joined a Homegroup becomes a member of the group. You can join computers to a homegroup irrespective of wired and wireless networking. If your PC is joined to a domain, you can join a homegroup but in this case, you cannot create a homegroup. You can access files and resources on other homegroup PCs, but you cannot share your own files and resources with the homegroup. Another important point about Windows 10 Homegroups are that all homegroup PCs must be synced in time and date. If you want you can exit out of a Homegroup any time you want. The following tutorial will help you to create a Homegroup in Windows 10.
Steps to Turn On or Off File and Printer Sharing in Windows 10 Homegroup
1. Press Win+X and select Control panel.
2. Go to Network and Internet.
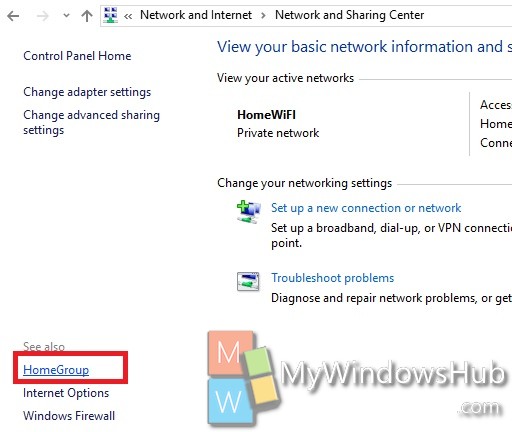
3. In the left pane, click on Homegroup.
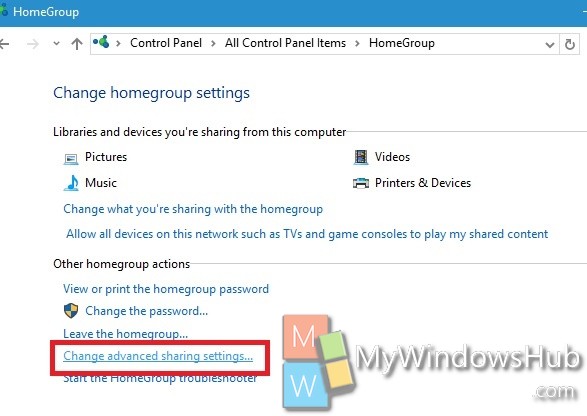
4. Now go to Change Advanced Sharing Settings.
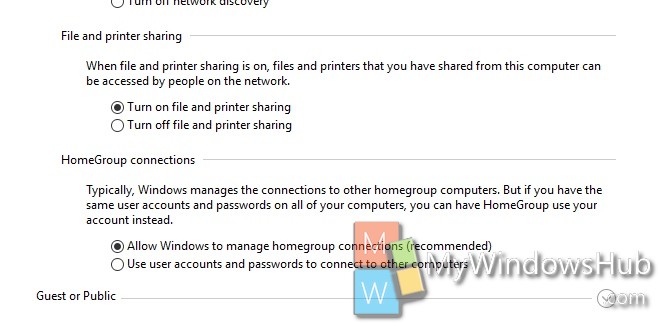
5. You will find File and Printer Sharing. Now select the required option to Turn On or Off File and Printer Sharing.
6. Close Control Panel.