Microsoft Excel is an extremely popular Office application among students, offices, researchers. It facilitates a plethora of options to create a huge table. You can create graphs, pie charts, trends of a particular business or scientific model and so on. The numbers of features are almost endless.
In MS Excel, we deal with humongous chunks of data in tabular forms. Often, we need to sort all such data in such worksheets, rearrange them in a specific order, based on values, alphabets, and many other factors, etc. For example, you can sort data of products launched by a company in alphabetical order. In the following tutorial, we shall show you, how to sort data in an MS Excel worksheet.
This feature is applicable for Excel for Office 365, Excel 2019, Excel 2016, Excel 2013, Excel 2010.
Steps To Sort Data In An MS Excel Worksheet
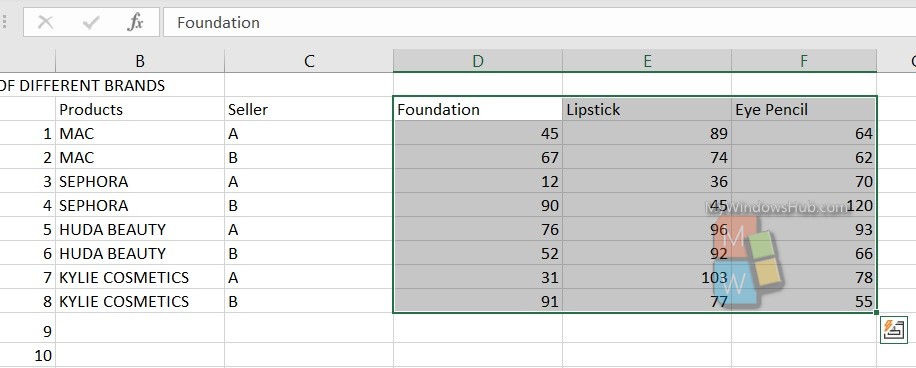
First of all, select a range of tabular data, which can include multiple rows and columns. You may also include the first row of headings, which generally describe each column.
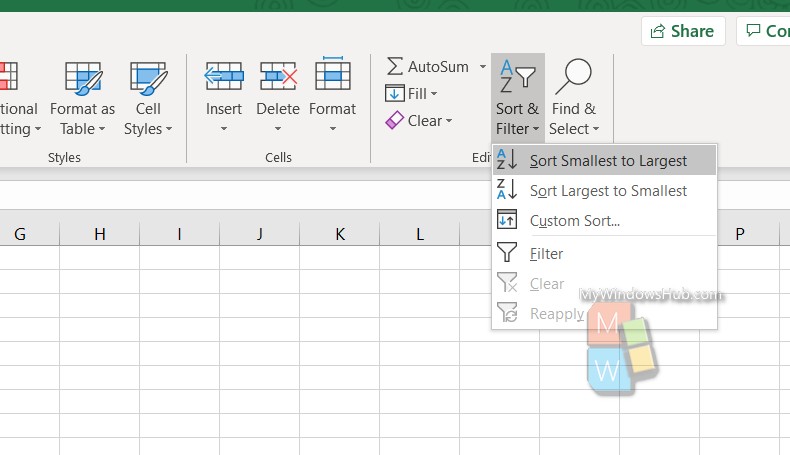
Under Home option, in the extreme right, you will see the Sort and Filter option. Click on the arrow beside it.
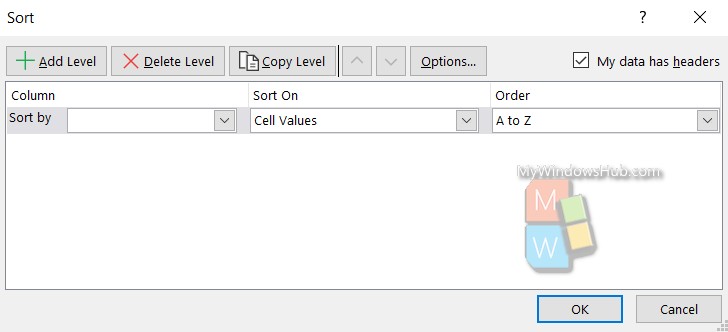
If you want to set customized sorting, then select Custom sort. A new dialogue box will open. Set the criteria and that’s all!