

Microsoft Excel or better known as MS Excel deals with calculations and analysis of huge amount of data entries. The screenshots captured here shows only one column and nine rows only, i.e. 9 data entries only but real life applications there may be 1000 rows and 96 columns for example. So dealing with such a huge chunk of data is not easy even though Microsoft Excel has provided a plethora of data handling features. One such is the Printing of Selective area. As I said, Microsoft Excel deals with data of humongous forms. So you cannot print all the data in a single paper. In that case, you can select certain rows and columns, or cells and then print it. This article will give you small tips on Print Select Area.
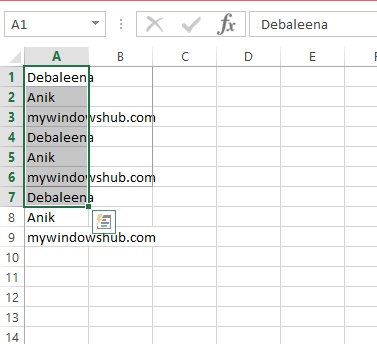
1. Select the cells you want to print.
2. Now go to Page Layout and choose Print Area. Click on it and select Set Print Area. The area will be outlined with a grey border and you can print it. You can refine the Print Area anytime you want. If you want to clear the Print Area select Clear Print Area.

About Nick
Nick is a Software Engineer. He has interest in gadgets and technical stuffs. If you are facing any problem with your Windows, feel free to ask him.