

System Restore is a Windows feature that can help fix particular system crashes and other computer problems like driver installation failure or system crashes while installing software. System Restore helps us to restore Windows installation to its last working state. In this post, we will discuss how to use and create System Restore Point. Along with the detailed description, we shall be showing you how to restore your computer using System Restore Point in Windows 10.
By default, Windows operating System creates System Restore Points automatically periodically. This process is done by creating “Restore Points.”
What are Restore points?
- Restore points are snapshots of the whole Windows system files, program files, registry settings, and hardware drivers.
- Windows creates a restore point once in a week; you can also create a restore point at any time.
- Windows creates a restore point right before the installation of the device driver or running Windows update.
How to enable System Restore Point:
In some of the systems, by default, System Restore is enabled for the main system drive(where Windows is installed) but not for other disk drives. If you want System Restore to protect your PC, you should turn it on at least for the system drive. To make sure System Restore is enabled for specific drives, follow the below steps.
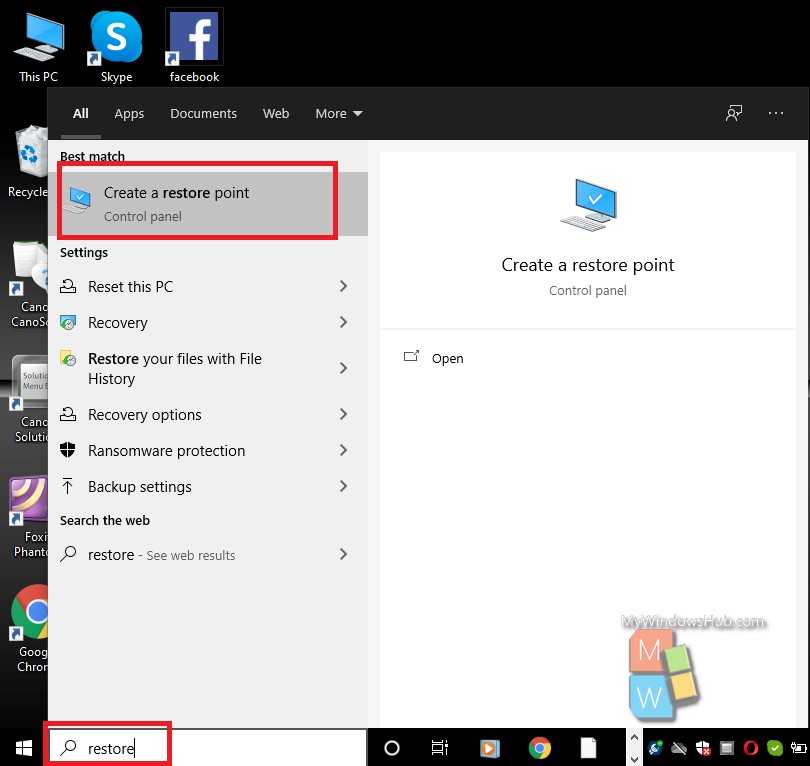
- Click the “Start” icon and type “Restore,” then Click on “Create a restore point.”
- Now navigate to the “System Protection” tab, and then you shall see a list of drives. In this step, you need to select a drive on which you want to create a restore point. In our case, we have chosen Local Disk (C:) for demonstration purposes.
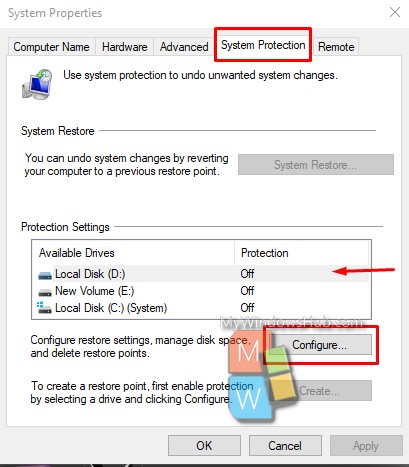
(Note: In most of the cases, System Restore is enabled for C: drive. If it is not enabled on your System, that is the first drive you need to enable first.)
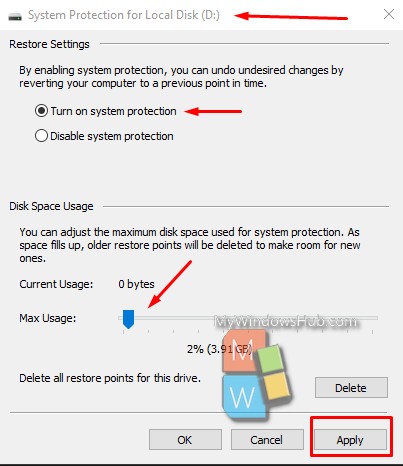
- On the next dialog, click on “Turn on system protection.” Then adjust the disk space size. You need to specify the maximum size to be allocated for system protection, and then press OK.
How to Create a Restore Point:
As we have discussed earlier, whenever a significant event happens like a driver or an application installation, System Restore automatically creates restore points every week. You can also create a restore point whenever you need it. Please follow the below points to create a restore point.
- Hit the Start icon and then type “Restore,” then click on the “Create a restore point” option as shown above.
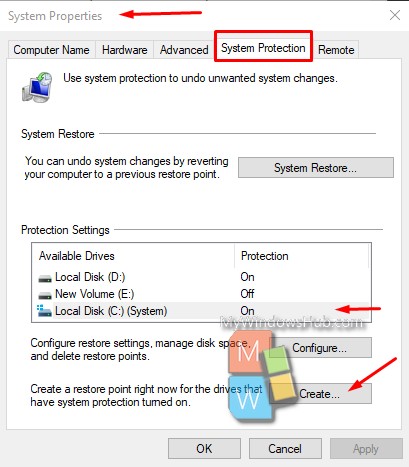
- On System Properties, select the “System Protection” tab and then click on the “Create” button.
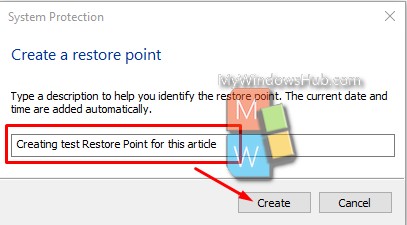
- Type a description for the restore point and click “Create“.
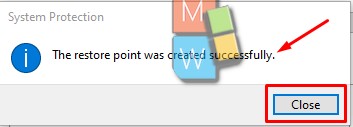
- This process will take a while to create a snapshot of your entire system state. Once this is done, click on the “Finish” button.

How to Restore Your System to an Earlier Restore Point:
Now your System Restore feature is enabled for specific drives. Whenever something goes wrong while updating Operating System or installing applications, you can restore it to earlier restore points. Follow the below steps to restore the system to a previous restore point.
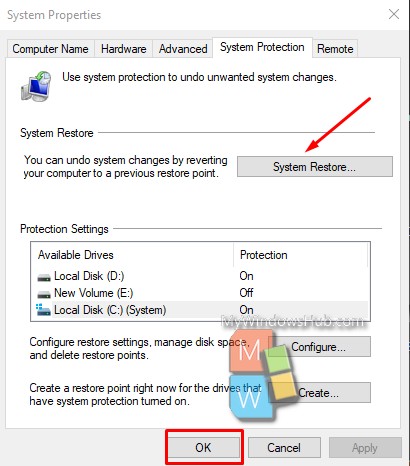
- Hit the Start button and type “Restore,” from the suggestions, click the “Create a restore point” option as shown above.
- Click on the “System Restore” button. Then hit OK.
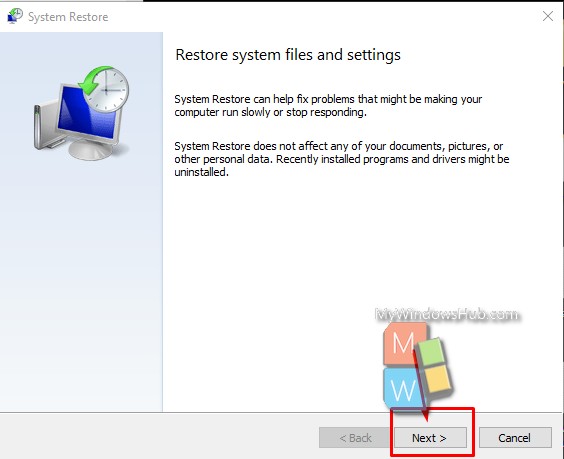
- On the “System Restore” tab click on the “Next” button to proceed.
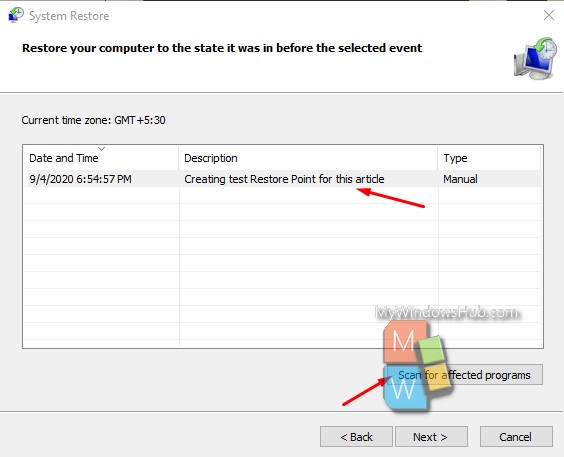
- The next page will show you the available Restore Points that you took, or by default, the system took periodically.
- Select the restore point you want to restore (The most recent restore point is ideal for restoring).
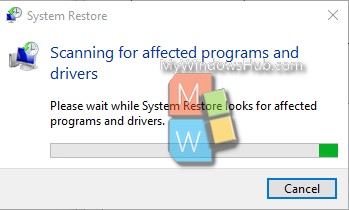
- Then click on the “Scan for affected programs” button.
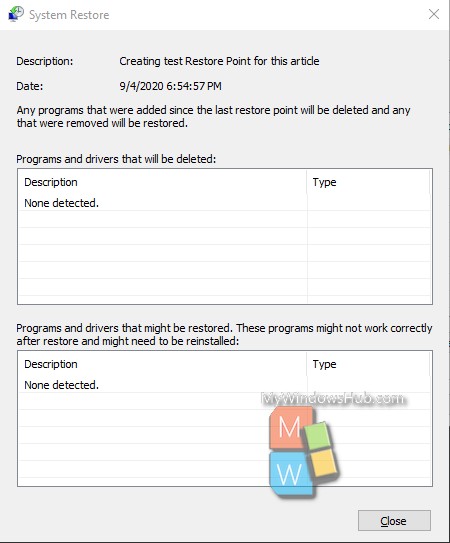
- On the next page, you can see two sections. The top list is about drivers and programs that will be deleted if you restore Windows to the selected restore point—the bottom list ia all about the drivers and programs that might be restored.
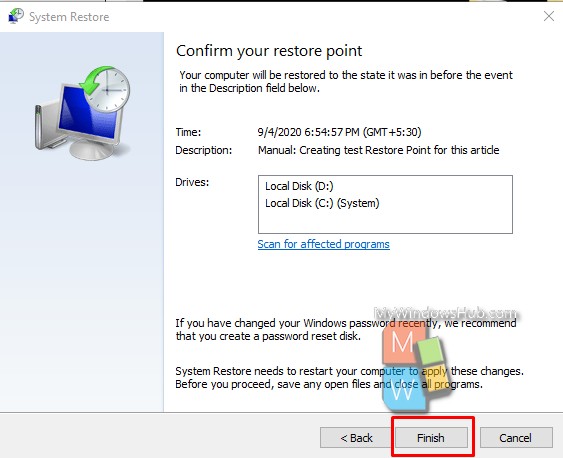
- When you are ready to restore, click the restore point you want to use and then click on the “Next” button.
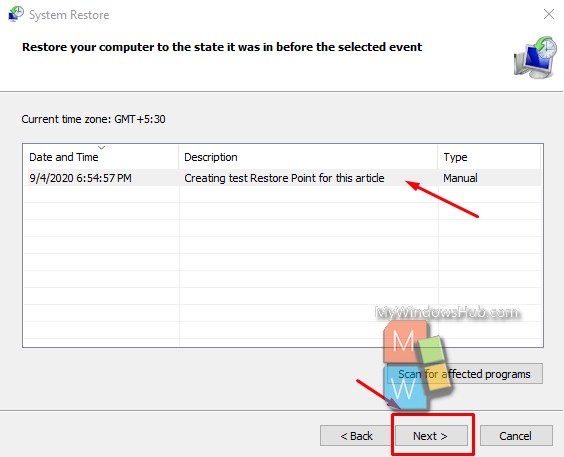
- Make sure you have selected the right restore point. Then click on “Finish” to confirm the restoration.
- On the next window, the system informs you that “Once started, System Restore can not be interrupted. Do you want to continue?” Click “Yes” to start.
The whole process will take a while to complete the restoration. Once everything is restored correctly, you shall be able to login to your system without any issues.
About Harsit Mohapatra
Harsit Mohapatra is a full-time Software Engineer passionate and hungry for tech updates and knowledge. Besides being a crazy software developer, he is an avid traveller and loves capturing the things that give him a perception through his lenses