

The following tutorial will show you how to check a drive for errors in Windows 10. In this regard, it’s to mention that disk checking is very useful as it periodically checks for bugs and system failures. You can check a drive for errors and then repair the drive accordingly for a better performance. If you enable disk checking, then in the next login session, you will have a stipulated timestamp before which you can tap any one key to skip disk checking.
Steps to Check a Drive for Errors in Windows 10
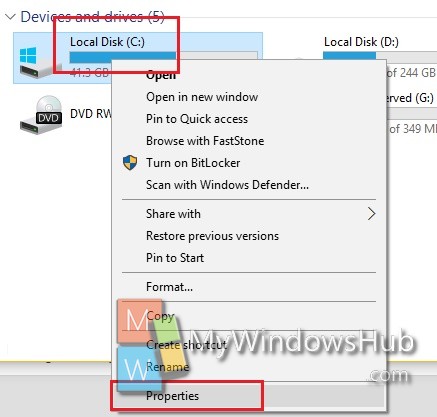
1. Open File Explorer, and go to This PC. Right click on the Drive that you want to scan and go to Properties.
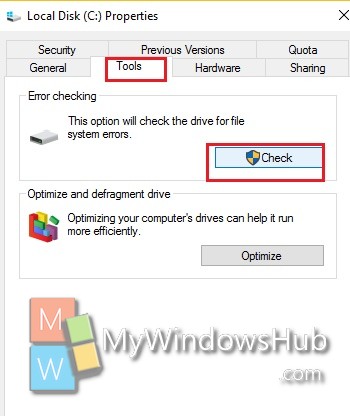
2. Now click on Tools tab. You will find Error Checking menu. Click on Check.
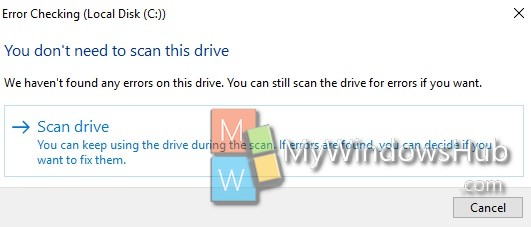
3. If there is nothing wrong with your computer’s drivers and they are working fine, then your PC will alert you that you don’t need to scan the system. But still you can run the disk check by click Scan Drive.
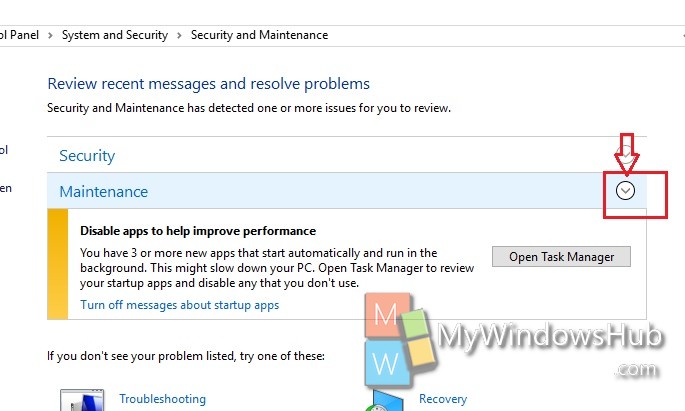
4. Tap on the arrow beside Maintenance to expand the option.
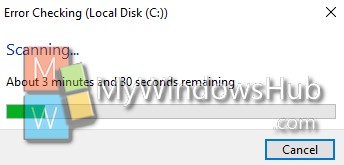
5. Scanning will take about few minutes of time. Wait until a result is furnished in front of you.
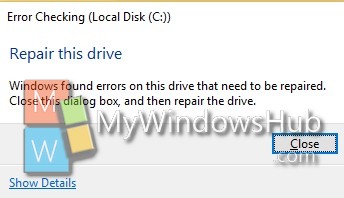
6. When it’s done you’ll get the result that scan has been done successfully. If there is any error in your drives, then you will be notified accordingly and you may need to run the Disk Repair.
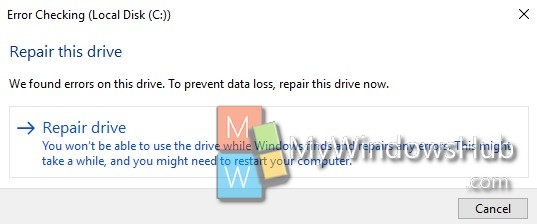
You can repair instantly or initiate the repair on the next restart session. That’s all!
About Nick
Nick is a Software Engineer. He has interest in gadgets and technical stuffs. If you are facing any problem with your Windows, feel free to ask him.