

Why Maximum Processor Frequency?
The system’s performance depends on multiple parameters, such as the type of processor, number of cores, maximum processor frequency, and many more. Due to power consumption and other constraints, Windows had added some restrictions to the maximum frequency of the CPU core(s). During the peak usage time, the decline in performance has been reported by many users. And with the Windows 10 built 1079 release, the “Maximum Processor Frequency” option was removed from the “Power Options” section.
Usually, the operating frequency of CPU core(s) are measured in MHz or GHz, i.e., 2.5 GHz CPU ticks 2.5 billion times each second. You can find this statement in many places, “The higher the frequency, the faster the processor will be.” Do you wonder if you can ask your operating system to alter the Maximum Processor Frequency? This will allow you to get the best out of your processor at the peak hardware requirement, and even you can reduce the frequency in case of limited power source to increase your screen time. In this advanced Win10 tutorial, we will walk you through the steps to alter the MPF.
How to add or remove the Maximum Processor Frequency Menu using CMD?
Step #1
- Press Windows key + R to open the Run dialog.
- Type “cmd” and then press ctrl + shift + enter to open the command prompt as Administrator. If User Account Control(UAC) prompts for confirmation, click “Yes” to grant permission.
Step #2
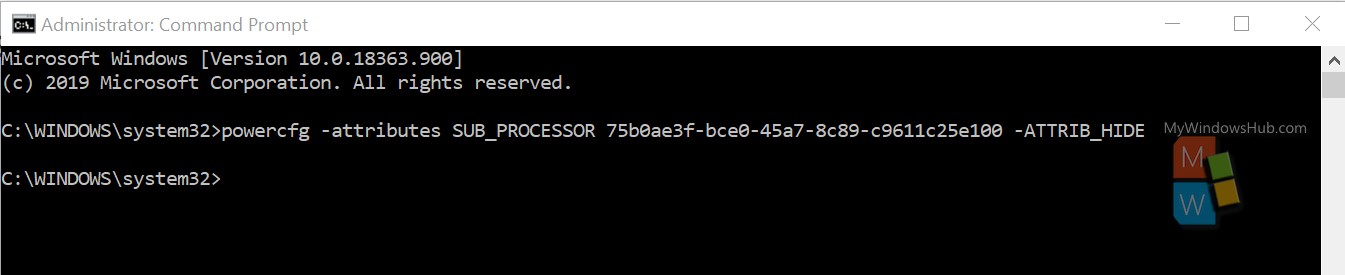
- Inside the command prompt type the following command and then press Enter to enable the Maximum Processing Frequency menu inside the Advanced Power Options tab.
Command :
powercfg -attributes SUB_PROCESSOR 75b0ae3f-bce0-45a7-8c89-c9611c25e100 -ATTRIB_HIDE
Step #3
- Restart your computer. With the recent Windows update and depending upon the Windows version, the restart step might not be needed.
- Open the Run dialog by pressing Windows key + R.
- Then type powercfg.cpl to open the Power Options menu.
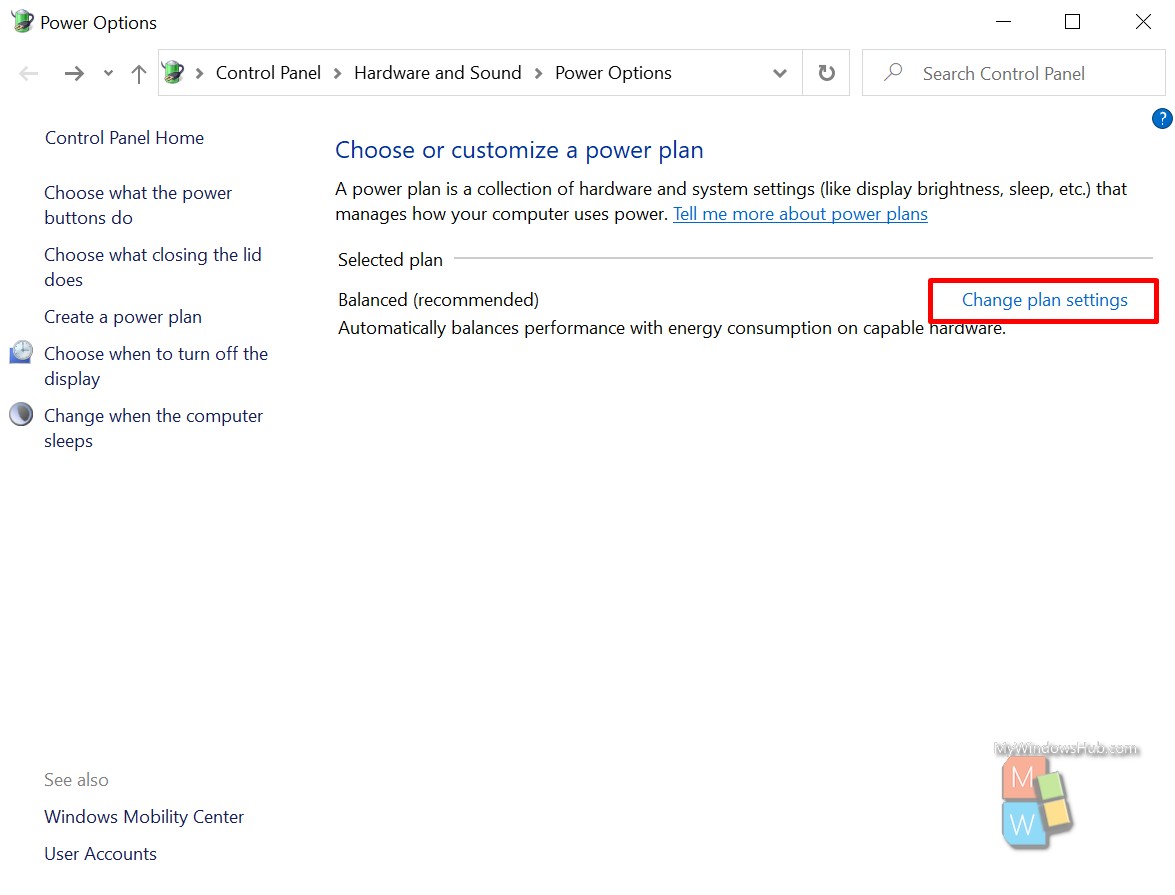
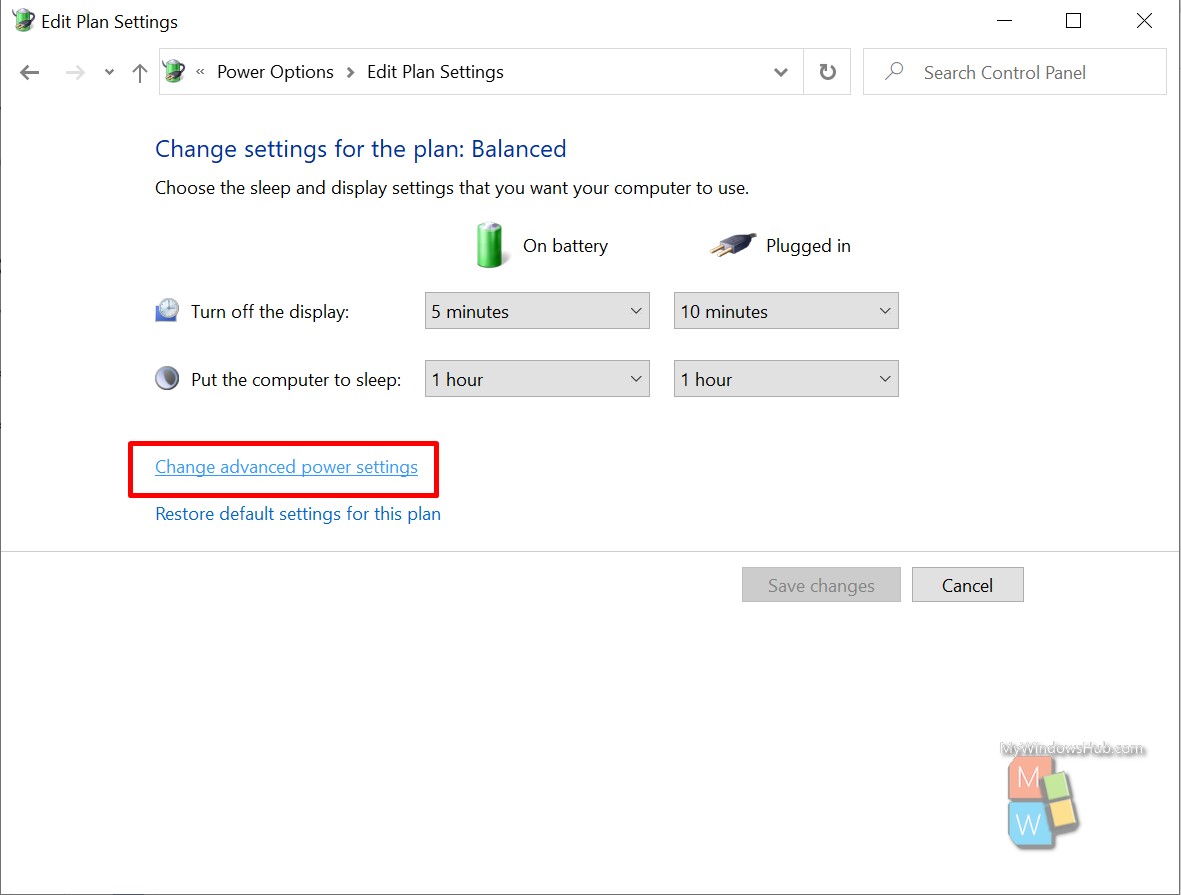
- Then click on the “Change plan settings” link for the currently active power plan.
Step #4
- Click on the “Change advanced power settings” link for the active power plan.
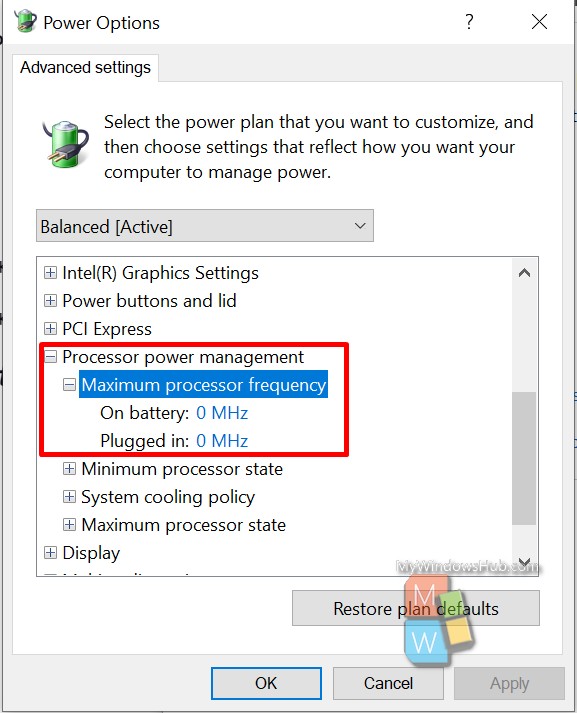
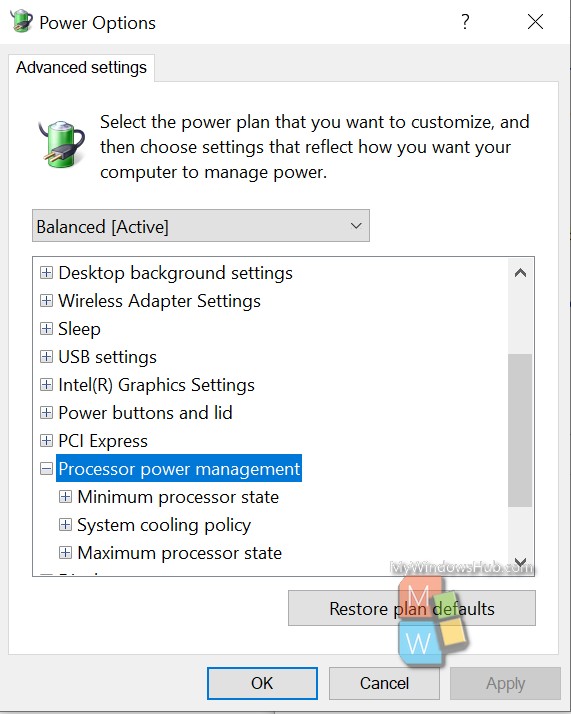
- A dialog will appear, please scroll down through the list and click the plus(+) icon to expand the “Processor power management” option.
Note:
If you want to hide the Maximum processor frequency menu from the Power Options tab, you can follow Step #1 and Step #2 with the below command,
Command:
powercfg -attributes SUB_PROCESSOR 75b0ae3f-bce0-45a7-8c89-c9611c25e100 +ATTRIB_HIDE
How to add or remove the Maximum Processor Frequency Menu using RegEdit?
Step #1
- Press Windows key + R to open the Run dialog.
- Type “regedit” and then hit enter to open Windows Registry editor.
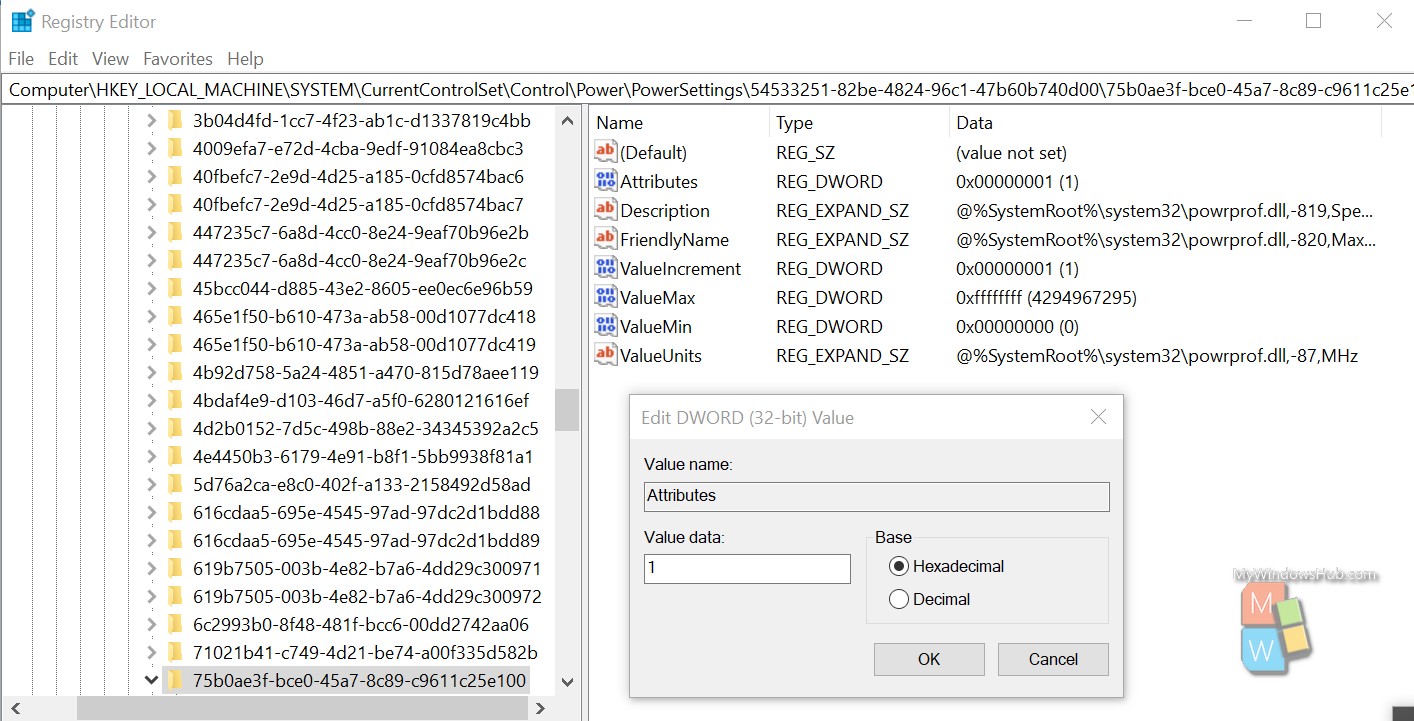
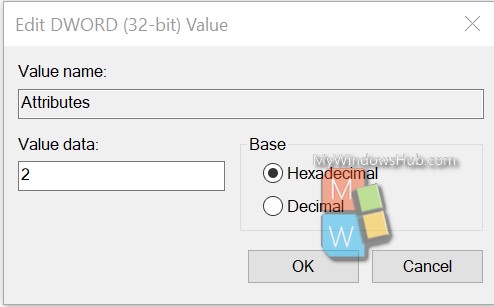
- Navigate to the below-mentioned location and then double click on the “Attributes” variable on the right-hand menu. Please note that if this variable is not available, then right-click on an empty space and choose New > Dword (32-bit) value. Then, name the newly created Dword to Attributes.
Location:
HKEY_LOCAL_MACHINE\SYSTEM\CurrentControlSet\Control\Power\PowerSettings\54533251-82be-4824-96c1-47b60b740d00\75b0ae3f-bce0-45a7-8c89-c9611c25e100
Step #2
- To enable the “Maximum processor frequency” menu set the value to 2 and click on “Ok” to save the modification.
- To disable the “Maximum processor frequency” menu, set the value to 1 and click on “Ok” to save the modification.
How to change the Maximum Operating Frequency on Windows 10?
You need to follow either one from the above two to enable the Maximum processor frequency on the Power options tab. Then you need to follow the below steps to modify,
Note:
- Never overclock your processor by overriding the below values with random numbers.
- Always check your system properties and note down the maximum processing frequency of your CPU cores.
- In our case, the system has got a 2.3GHz processor.
Steps:
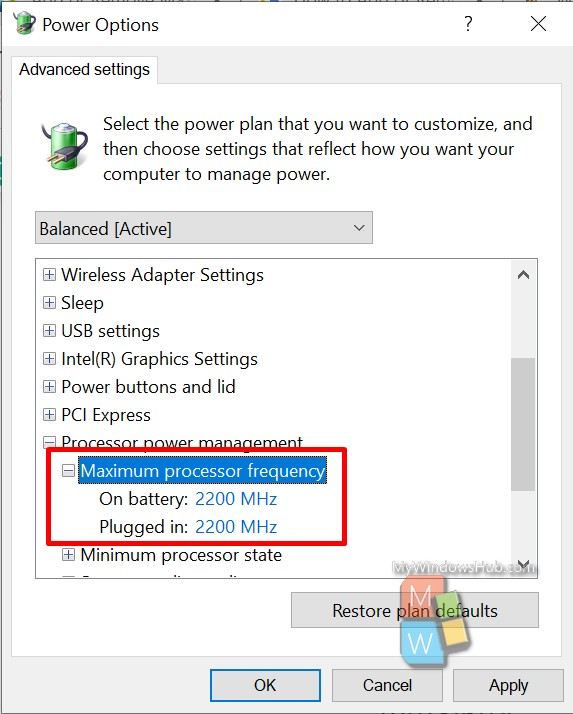
- Upon expanding the Maximum processor frequency icon, you shall be able to see two options: one is to modify the operating frequency on battery mode, and the other one is for plugged-in mode.
- Modify both the values in MHz(as per your CPU’s maximum clock speed) and restart your system to force them into effect.
- For the demonstration purpose, we have modified both values to 2200MHz(2.2GHz) and click apply.
Conclusion:
In this advanced Windows 10 tutorial, we have walked you through the steps to enable the “Maximum Processor Frequency” menu on the Power options tab and modified the values for the optimal performance. It is really important to understand that you can even limit the clock speed to save the battery and increase the screen time.
About Harsit Mohapatra
Harsit Mohapatra is a full-time Software Engineer passionate and hungry for tech updates and knowledge. Besides being a crazy software developer, he is an avid traveller and loves capturing the things that give him a perception through his lenses