Windows 10 has brought back the Start Menu of Windows 7 which was withdrawn with Windows 8 and 8.1. The Start Menu is now back with a plethora of new features which have been loved by one and all. The Start windows has two panels, the left one showing traditional start options like that of Windows 7 and the right panel showing the Universal apps. However, you can change the options of the Start menu by adding and removing options from the PC Settings. The following tutorial will help you do so.
Steps to Add or Remove Folders in Start Menu of Windows 10
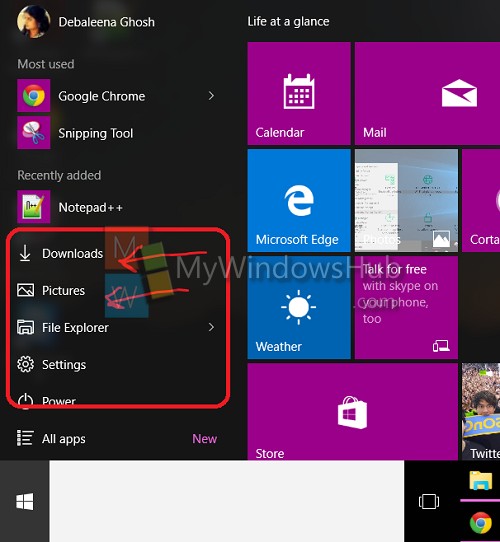
1. This is how the options might look at the Start Menu. If you want, you can add or remove options from the Start Menu.
2. Now tap on the Action Center located on the icon on the taskbar and go to All Settings.

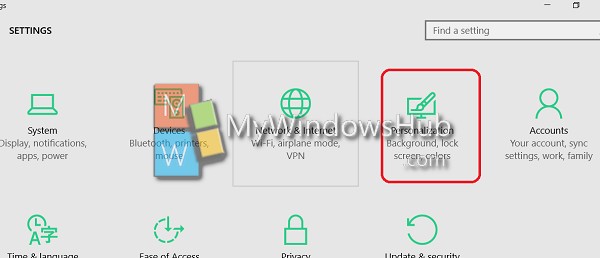
3. Now select Personalization.
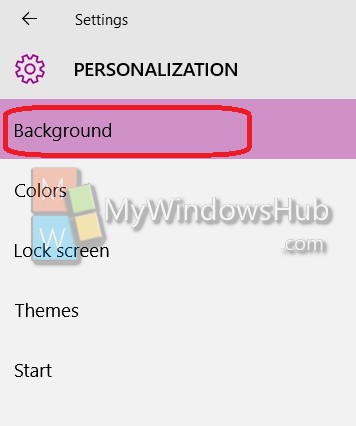
4. In the left panel, tap on Start.
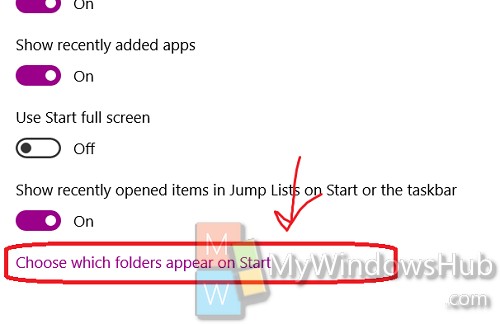
5. Now in the right panel, check out for the option Choose which folders appear on Start.
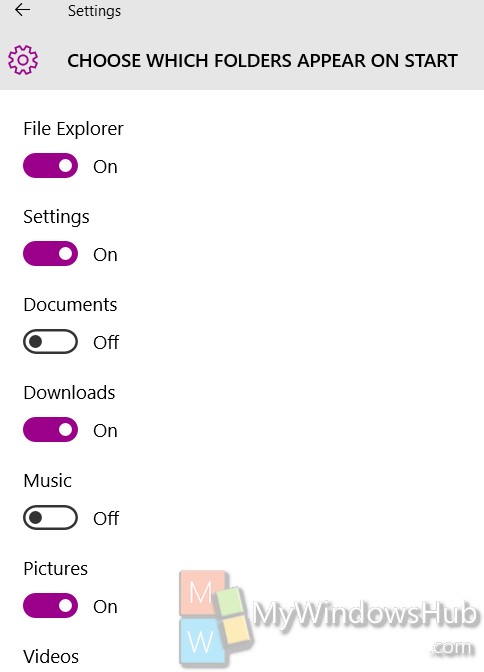
6. Now you will find a number of options. Tap on the corresponding slider with each option to turn it on or off.
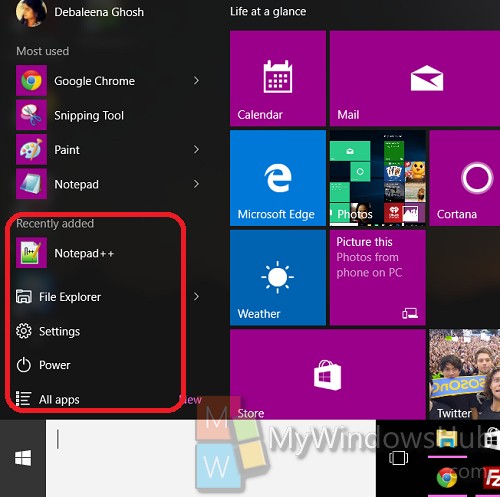
7. When you change the option, now open the Start Menu, you will find new options being added and old ones being removed depending on your actions.