

Windows has presented another new feature called the File History which has the same utility like Apple’s Time Machine. File history backs up all you important files and folders and keeps them safely. There are many File History software utility available in the market and one of them is the Crashplan. But if you prefer the in-built backup system then Windows 8 File History will serve your purpose. All the data of Libraries, Favorites, Desktop are backed up and restored if the original files are deleted or damaged. As time passes by a complete history of the files, their prevailing versions are presented in front of you through File History. So first of all set up a File History Drive and go for it.

Although file backup prevails in Windows 8 but there is a basic difference between Windows 7 File Recovery System (formerly known Windows Backup) and Windows 8 File History. You can set a schedule and run the back up process according to the scheduled time, like once a week or twice a month. Back up can be created for each and every persoanl as well as program files and in a broader sense you can even backup the entire system image which is useful in system restore from a point of time. On the other hand File history does not back up the whole system but only essential personal files and folders. Instead of running the backup function once a week, File History creates hourly snapshots and the combined result is the File Histroy. So the process is not only user friendly but also fine as it does the same function like Windows Recovery but at a greater frequency. Both the systems have their importance but Windows 8 File History is more welcomed by users because instead of backing up the whole system it just restores personal important files. We may not want to create back up for the entire system because if the system fails, there is always a provision of re-installing the OS again. But it is the personal and professional important files that has no subsitute and can’t be brought back once they are gone. So it’s human instinct to take special care of those documents. The following tutorial hoever deals with making the File History process a bit easier by creating ashortcut on the desktop.
Steps to create a File History shortcut in Windows 8
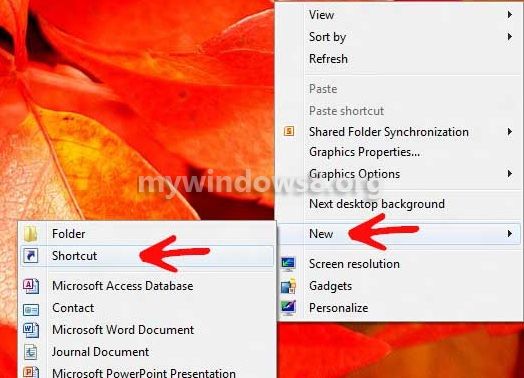
1. Right click at an empty space on the desktop and go to New and select Shortcut.
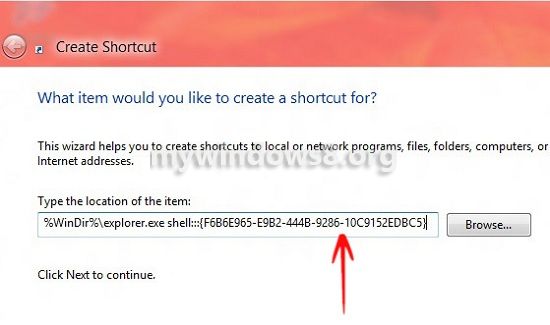
2. At the location field copy and paste the following text %WinDir%\explorer.exe shell:::{F6B6E965-E9B2-444B-9286-10C9152EDBC5} and click Next.
3. Name it as File History and click Finish.
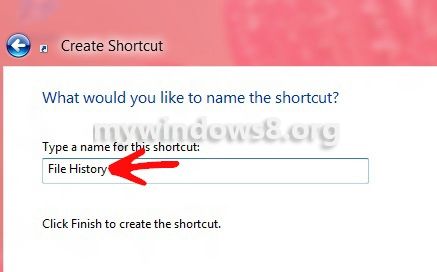
4. Your shortcut is ready.
I simply wtaend to compose a small note in order to say thanks to you for those superb secrets you are giving at this website. My considerable internet research has finally been paid with sensible concept to talk about with my guests. I d say that many of us website visitors are unquestionably lucky to exist in a decent website with very many marvellous individuals with great points. I feel extremely blessed to have come across your website page and look forward to tons of more awesome moments reading here. Thank you once more for a lot of things.
Thanx a lot, please keep in touch.
Yas