

This tutorial will help you to enable automatic sleep in your Windows 10 PC when network files are open. The steps for enabling auto sleep can be accomplished through the Local Group Policy Editor. The policy setting allows you to manage automatic sleep with open network files. If you enable this policy setting, the computer automatically sleeps when network files are open. If you disable or do not configure this policy setting, the computer does not automatically sleep when network files are open. In this tutorial, I have shown for plugged in state. You can enable Auto sleep with open network files for battery state also by following the same steps but choosing Allow Automatic sleep with Open Network Files (on battery) instead of Allow Automatic sleep with Open Network Files (plugged in).
Steps to Enable Automatic sleep with Open Network Files in Windows 10
1. Press Win+R to open Run window.
2. Type gpedit.msc and hit Enter to open the Local Group policy Editor.
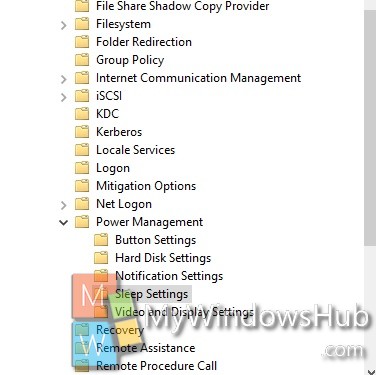
3. Now go to the following location Computer Configuration > Administrative Templates > Windows Components> System > Power management > Sleep Settings.
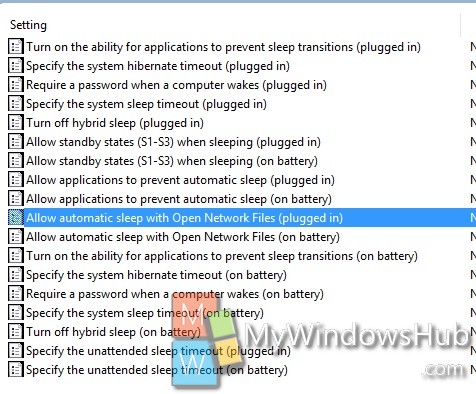
4. In the right panel, you will find the policy setting Allow Automatic sleep with Open Network Files. Double tap on it to edit the policy.
5. If you want to allow automatic sleep with open network files, then tap Enable. Go to Step 7.
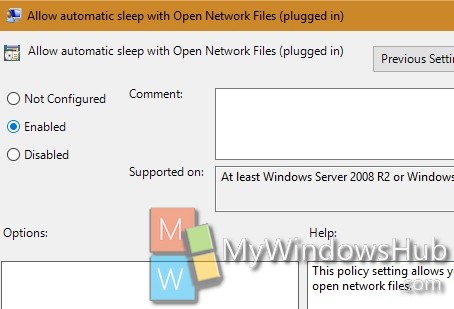
6. If you want to disable the option, click on Disable.
7. Click OK and then Apply.
8. Close Local Group Policy Editor.
About Nick
Nick is a Software Engineer. He has interest in gadgets and technical stuffs. If you are facing any problem with your Windows, feel free to ask him.