

This tutorial will help you create a system image in Windows 10. System images are the dupes of the original system disks and can be used to restore your PC to the state it was in at the time the image was made. You can create your system images in an external hard drives, internal hard drives or over a network. Usually creating the backup in an internal drive is not recommended. If you are saving the image in an external hard drive, then the drive has to be NTFS formatted. The drives which run the operating system are generally backed up but if you want, you can also include other drives.
System Images are saved in this format:
drive letter:\WindowsImageBackup\computer name\Backup YYYY-MM-DD HHMMSS
Steps to Create a System Image in Windows 10
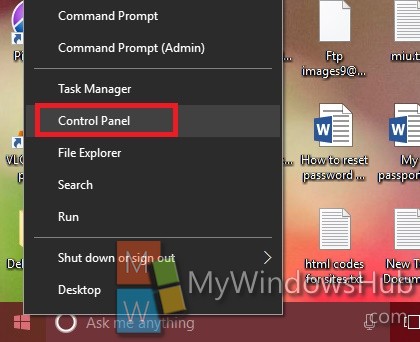
1. Right click on Start Menu and click Control Panel.
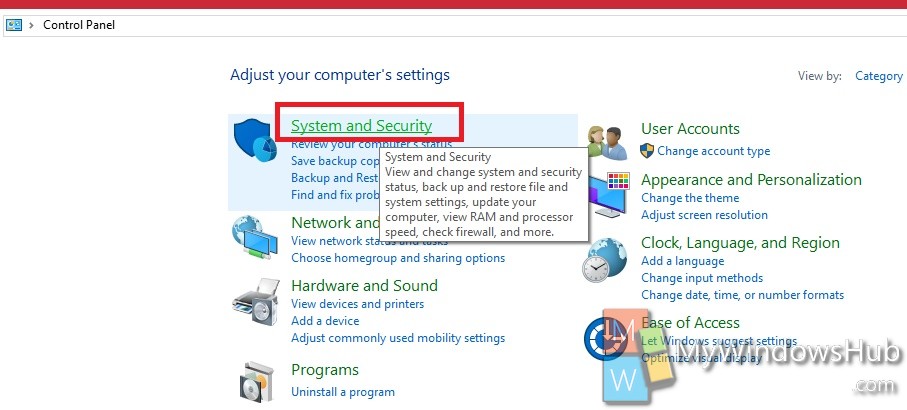
2. Go to System and Security.
3. Click on File History.
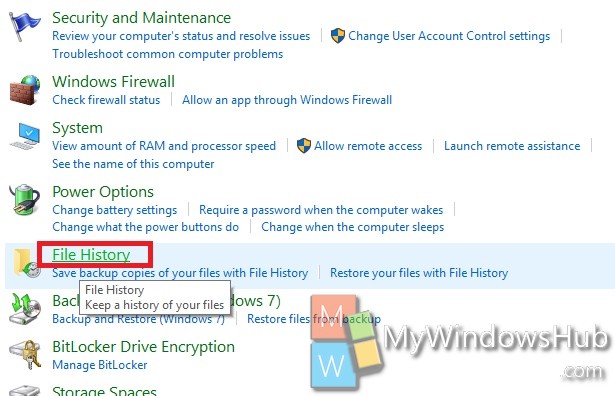
4. Click on Backup and Restore (Windows 7).
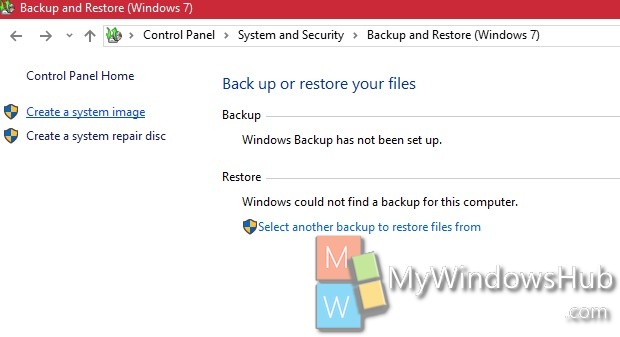
5. Go to System Image Backup.
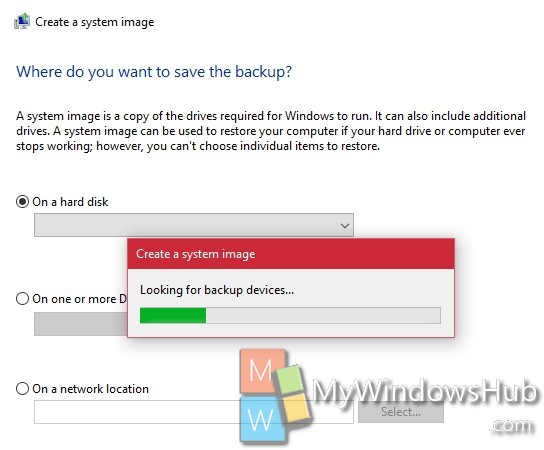
6. The computer will take some time to look for external hard disk.
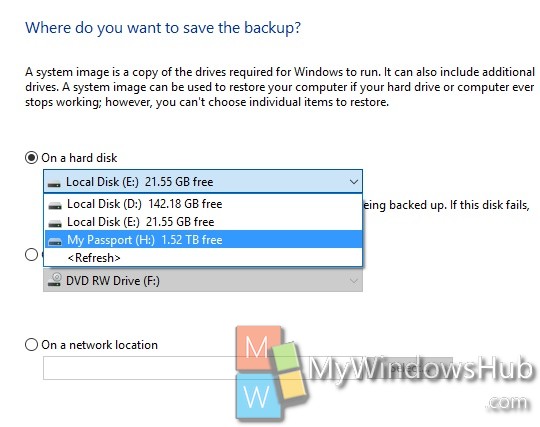
7. Now the available hard drives will appear. These will include both internal and external hard drives. Select the one you need. You can also choose DVD if you want to create the system image on DVD.
8. Read the instruction and click Next to proceed. Now when you reach the final window, click Start Backup.
9. The system image will be created and backed up.