

Switching from one user to another is quite common in those computers where multiple users access. Windows Context menu is that menu which appears when we right click in an empty space on the desktop and you must be aware that the Desktop context menu does not contain the Switch User by default. So in order to add the said option to the desktop context menu, go through the tutorial.

Steps to add “Switch User” option to the Desktop Context Menu in Windows 8
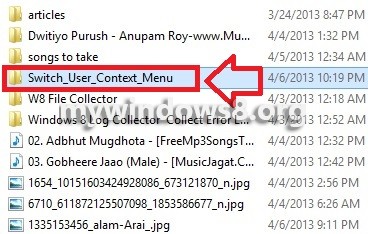
1. Your first job is to download the Switch User Context Menu from internet. Click here to download.
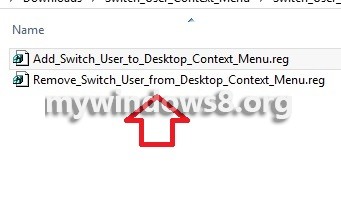
2. Now within the folder there will be 2 .reg file named Add_Switch_User_to_Desktop_Context_Menu and another is: Remove_Switch_User_from_Desktop_Context_Menu.
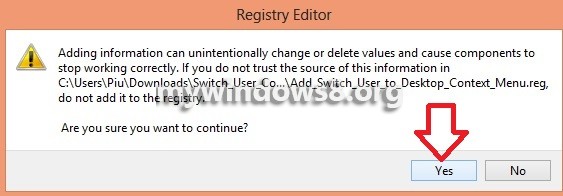
3. As you click the Add_Switch_User_to_Desktop_Context_Menu file, you will be asked to confirm by UAC and then you’ll get a Registry Editor message. Click Yes to continue.
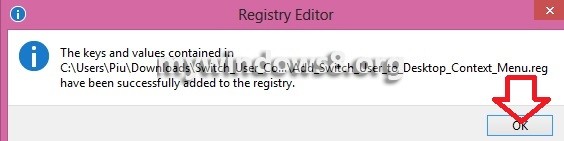
4. Once the keys and values have been added to the Registry Editor, you will get a final success message.
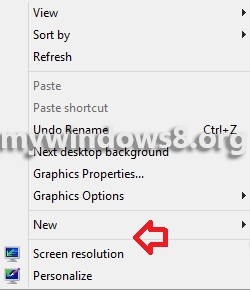
5. You are done. When you right click on the desktop, you’ll get the Switch User option in the Desktop Context Menu.
6. If you want to remove it again, then run the file Remove_Switch_User_from_Desktop_Context_Menu.
About Nick
Nick is a Software Engineer. He has interest in gadgets and technical stuffs. If you are facing any problem with your Windows, feel free to ask him.