

In Windows operating system when a number of processes are running on the computer the processor time shared between the apps and this time sharing is based on a parameter called priority level. The higher the priority level of a process, the more will be its assigned processor time.
There are 7 priority levels avail such as Realtime, High, Above Normal, Normal, Below Normal, and Low. This feature is very much useful as assigning priorities will help important processes to execute at a faster rate. One thing must be remembered that this setting is not permanent and only a one time function. This is because the process which is important at this instant may not be equally import every time. So setting priority creates unnecessary confusion betwee the process that needs be prioritized and those having high priority from before. Windows store apps do not support this facility.

Steps to Set CPU Priority Level of Processes in Windows 8.1
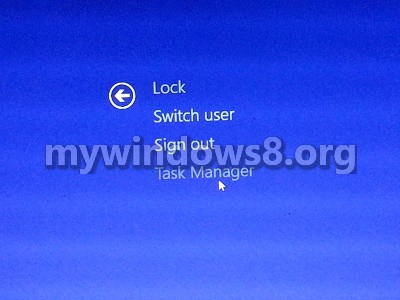
1. Press Alt+Ctrl+Del and select Task Manager.
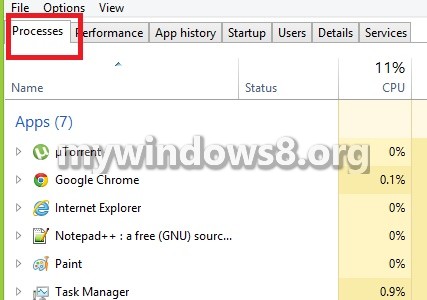
2. Go to Processes.
3. Right click on a process whose priority is to be changed, and click Go To Details.

4. Now right click on that .exe process and got to Set Priority and select adesired option.
If I may offer a suggestion: Use Ctrl+Shift+Esc to open the task manager faster than Ctrl+Alt+Del. The Ctrl+Shift+Esc method requires Windows Explorer to be running to work, but removes one more keypress.
Yeah.. agree on this.
“Ctrl+Shift+Esc ” I never used that. But I actually find it slower that Ctrl+Shift+Esc on account of the placement of the keys on the keyboard