

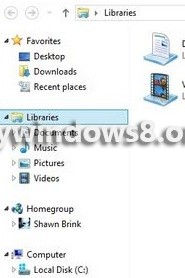
Network in the navigation pane of Windows OS displays the administrator PC and other user networks with which the computer has shared files or interacted. By default Network remains in the navigation pane, which can be removed. The first criteria of performing the steps is that you must be logged in as Administrator. The following tutorial will help you to remove or add Network from Navigation pane of Windows 8 Explorer. Some important points to be remembered before removing it. As you successfully perform it, the effect will be applicable to all user accounts and at the same time the default Network desktop icon will be removed.
Steps to Remove Navigation pane in Windows 8 Explorer
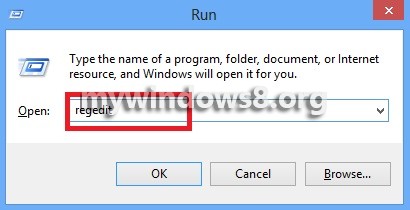
1. Open Run (Windows + R) and type regedit and press Enter.
2. Navigate to the location HKEY_CLASSES_ROOT\CLSID\{F02C1A0D-BE21-4350-88B0-7367FC96EF3C}\ShellFolder.
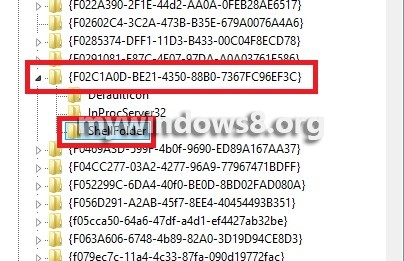
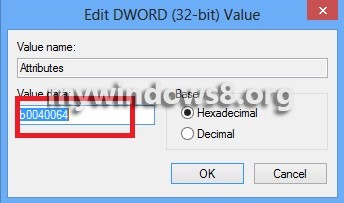
3. In the right pane, select the Attribute and double click to edit it.
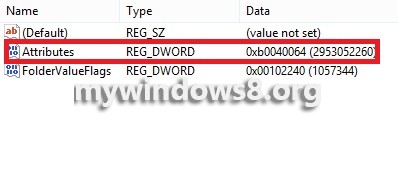
4. To add Network to Navigation Pane, edit the value and set it to b0040064 and click OK.
5. To remove Network from Navigation Pane, edit the value and set it to b094006
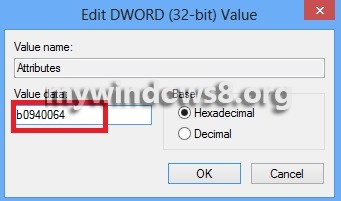
6.