

This tutorial will give you hands-on guide to record what you hear in Windows 8.
You may want to record some audio being played, which can’t be downloaded simply or may want to record the audio being played on screen. In that case follow the steps gives below to accomplish that.
I. Install Virtual Cable
Virtual Audio Cable transfers sound from one channel to other. It takes the computer as a virtual audio device. Download Virtual Audio Cable
from here.
II. Install Audacity
Audacity helps you to record audio from a virtual channel. Here we will record the audio from the virtual channel created by Virtual Audio cable. Download
Audacity from here.
III. Set Virtual Audio Cable as Default
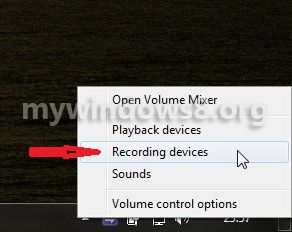
Step 1. You will see a music icon at the bottom right corner of the desktop screen. Click on Recording devices.
Step 2. Now, if you don’t see Line 1, then right click on the window appearing next and select Show Disabled Devices.
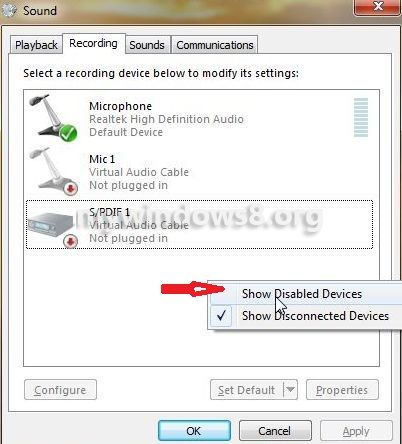
This will make the option Line 1 available for you, then right click on Line 1 and enable it.
Else you don’t need to do anything.

IV. Start the audio play
V. Record the audio
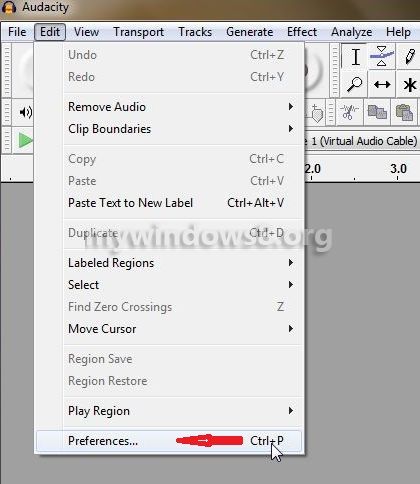
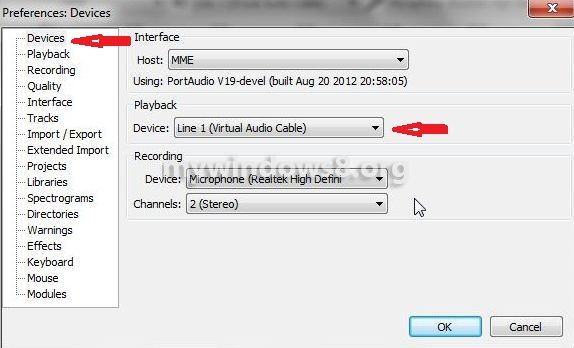
Step 1. open Audacity and navigate to Edit -> Preferences.
Step 2. select Line 1 from the menu in the recording portion click on OK.
Step 3. Now, click on the red recording button. It will start recording from the virtual audio line.
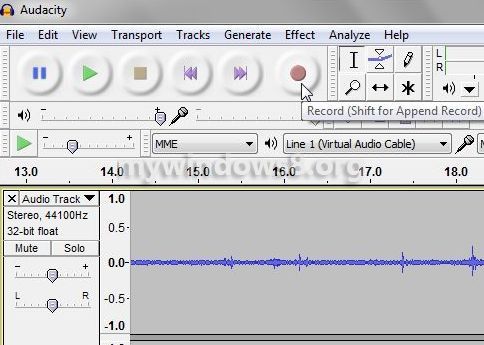
Step 4. When you want to stop, do so by clicking the stop button.
Step 5. For saving the audio, you have to navigate to File -> Export. You are done. Following these steps you can easily record what you here in windows 8.

You will be asked to choose proper format to save that file.
Just to mention, the downloads for both Audacity and Virtual Cable are very out of date.