Power Plan is a collection of all hardware and system settings that manages the power utilization in your computer. Windows operating system allows you to create your own custom power plan and personalize it according to your choice. Creating a new plan is important because you can set your own power preferences and at the same time does not alter the default settings like Balanced, Recommended, High Performance power plans. The process of creating a custom power plan is simple and has been discussed in the following article. There are several processes of accessing the power plan settings, via Control panel, Settings, Command prompt. The easiest method has been discussed here.
Steps to Create a Custom Power Plan in Windows 10
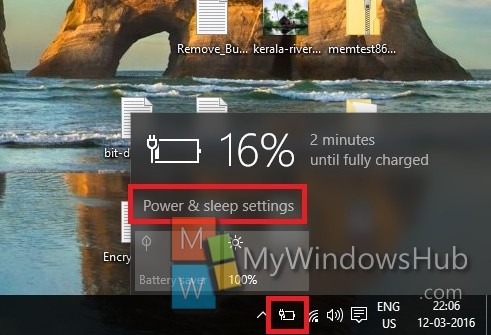
1. Click on the battery icon on the taskbar and go to Power and Sleep Settings
2. Power and Sleep option will open. In the right panel, scroll down and go to Related Settings. Tap on Additional Power Settings.

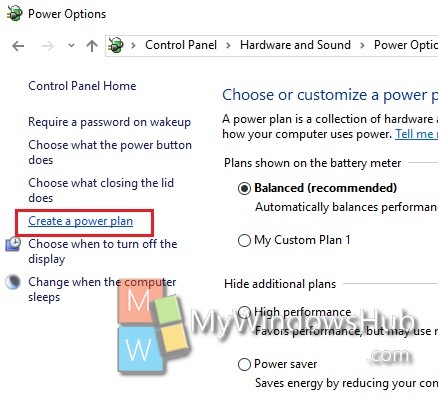
3. The Power Settings of the Control Panel opens. In the left panel, click on Create a power plan.
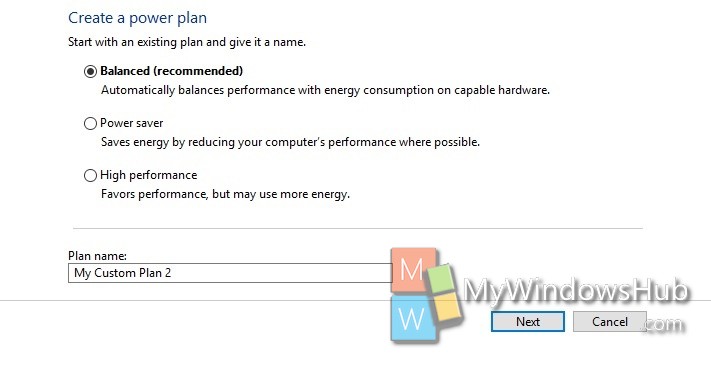
4. Now decide if the power plan you want to customize is a Balanced, power Saver or High performance plan. You can also edit the name if you want. Click Next.
5. Now change the sleep time, turn off display etc according to your requirement. Click on Create.
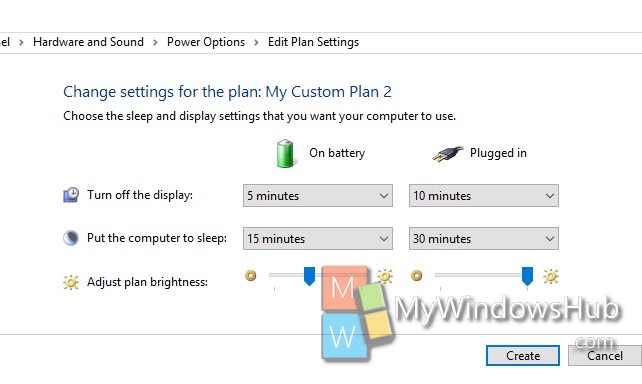
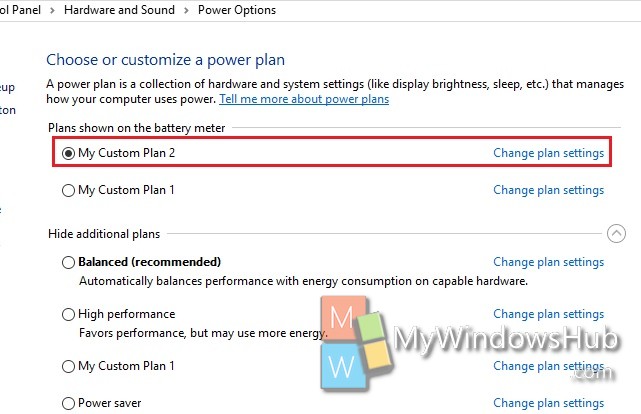
6. Your custom power plan will be created.