

This article will help you to adjust Processor Scheduling for Best Performance in Windows 10. Windows Operating systems utilize the resources of a computer’s CPU for performing various tasks among one or some of the processors of a computer, provided the processor is multi-core. For best performance processor scheduling is set to foreground programs, but if your machine is functioning as a server, choosing background services is the best option to perform the scheduling functions quickly. There are certain functions like system backup which are preferred to be run while setting the scheduling to background services. So when you have to perform such function, you can change the default setting for the time being and once this processing is over, switch back to the default settings.
Adjusting processor scheduling can ameliorate your PC’s audio drivers.
Steps To Adjust Processor Scheduling in Background Services in Windows 10
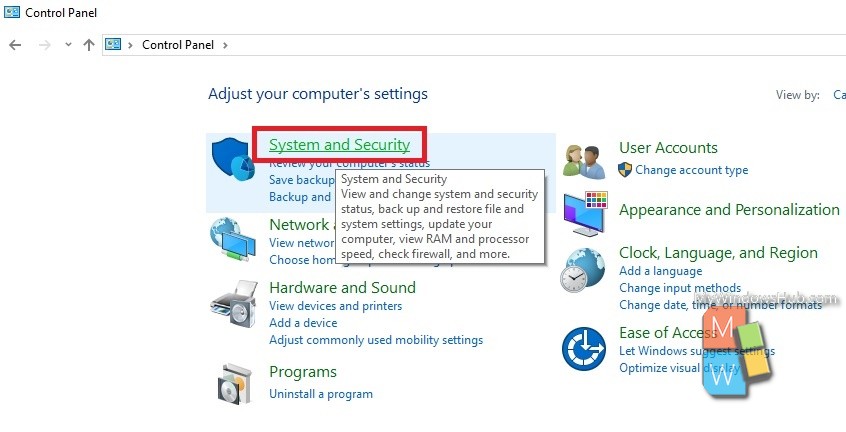
1. First of all, open Control Panel. For Windows 10, you can simply search Control Panel in Cortana search panel.
2. Now go to System and Security.
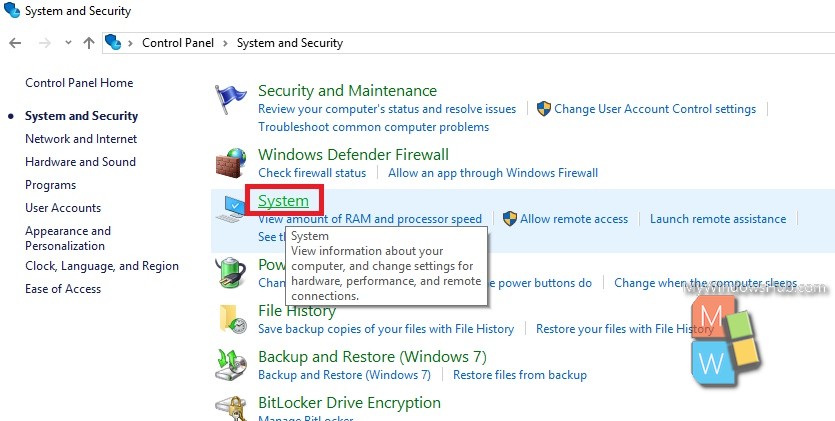
3. Go To System.
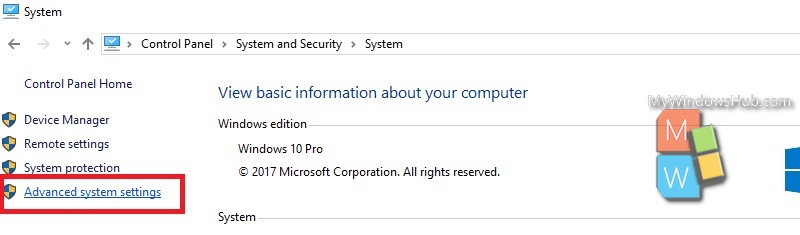
4. Next, tap on Advanced System Settings in the left panel.
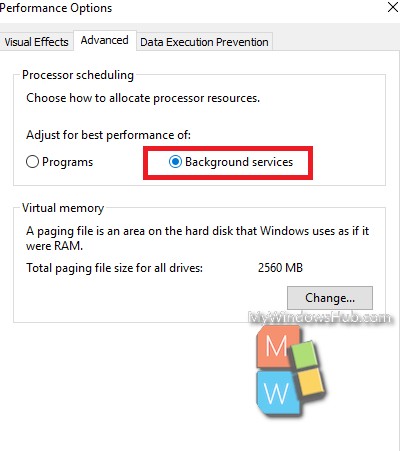
5. As the Advanced System Settings open, go to The Advanced tab. Now click on the Settings option under Performance. Performance options will pop up.
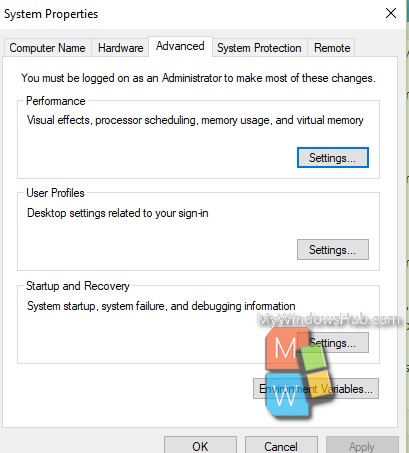
6. Tap on the Advanced tab. Under processor, check the background services radio button. Click on Apply and then OK.
That’s all!