

Yesterday I published an article for new users of Windows 10 Technical Preview on how to connect a PC to a wireless network in the simplest possible method. Sometimes, this method might not work. In that case, the command prompt will be a potential option. The commands are simple and easy to use. Check them out. Check the conventional method also here.
Steps to Connect To a Wireless Network in Windows 10 using Command prompt
1. Right click on the Start Button and go to Command Prompt (Admin) to open the elevated command prompt.

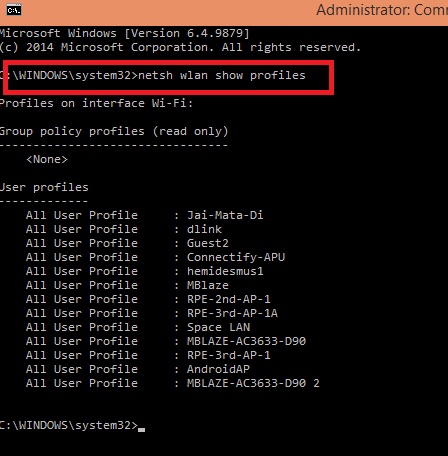
2. Now in order to connect to a wireless network, first you must find out the available connections. So, type the following command netsh wlan show profiles.
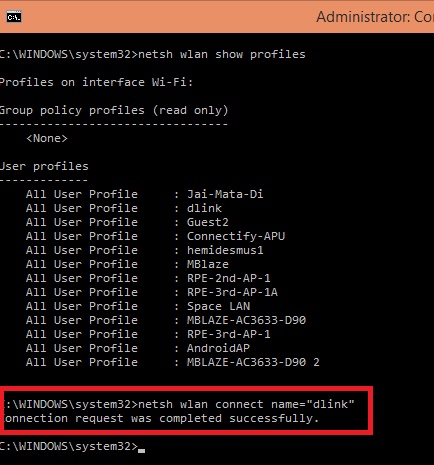
3. So now that you have found out the connections, it’s time to connect to a wireless network. Type the following command netsh wlan connect name=”Wireless Network name” and press Enter. “Wireless Network name” should be replaced by your network name. See the screenshot to understand how to name it.
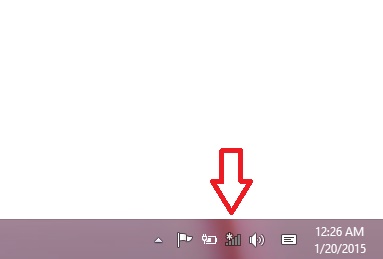
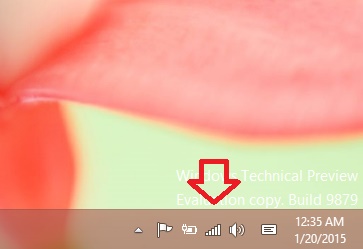
4. So it’s done. Check that it’s connected. You will see the Wi-Fi icon changed to connected immediately,
Hi Miss Debaleena
Your post it’s amazing! but i have a question, if the wifi have a username and password it’s possible put it into console?