

One of the biggest improvement that you can see in Windows 10 over Windows 8.1 is the simplicity. In Windows 8.1 in most of the cases you need to open the old Desktop style Control Panel to access various settings and it was very confusing for beginners to remember which options are available in Settings and for which changes they need to access old Control Panel. While in Windows 10 modern style Setting App allows you to access and modify most of the settings options that you may need frequently. Though Control Panel is still there, but starting from un-installing an Applications (including Desktop Apps), Power Management, Setting Up your Internet Connectivity and Firewall everything can be accessed from Setting Windows App.
In Windows 10 an App will require your permission before it can access the webcam and microphone. And again from Setting App you can check which Applications are allowed and which are denied to access the webcam and microphone. From the available list you can Allow or Revoke the access of an application very easily. Follow the steps below to check and Allow/Deny the access to Webcam in Windows 10.
Steps to to check / Allow or Deny the Apps to have access to Camera in Windows 10
1. Open Settings. You may access it from new Windows Panel.

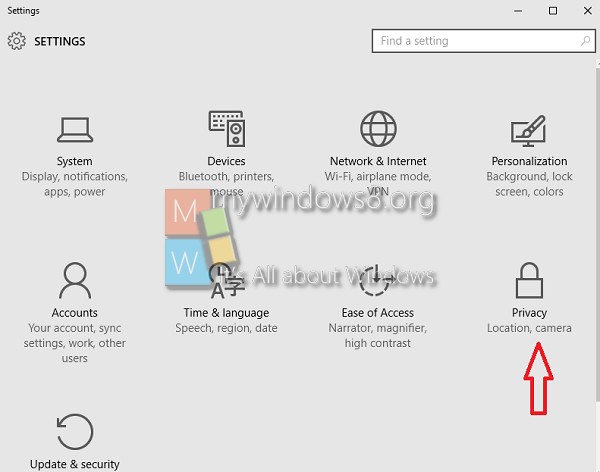
2. Click on Privacy option.
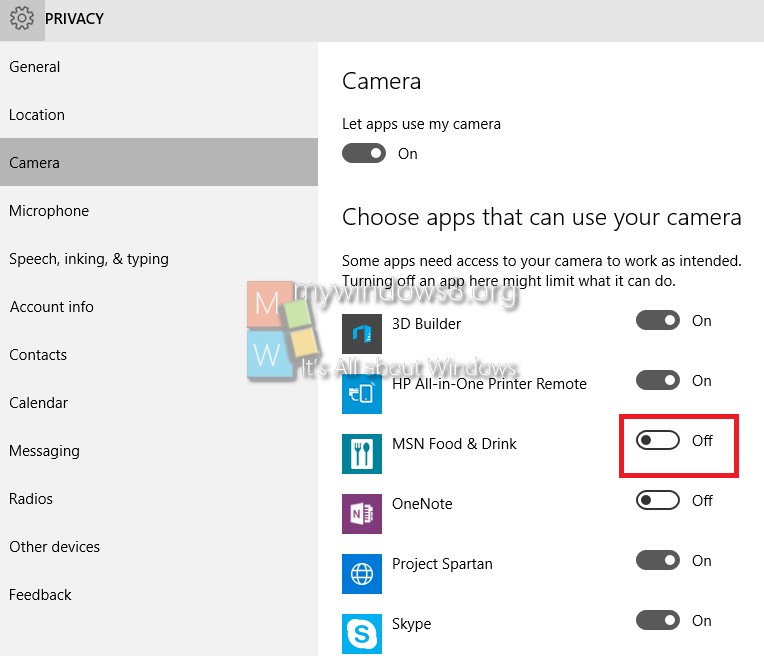
3. Now, click on Camera option in left pane. In the right pane the list will appear shortly. You can see there which Apps are allowed or restricted to access the Webcam. Just click on the slider to allow or deny an App from accessing the Webcam.
About Nick
Nick is a Software Engineer. He has interest in gadgets and technical stuffs. If you are facing any problem with your Windows, feel free to ask him.